Contents
In order to improve work efficiency with Shopify Cli, Aloteam has built a small tool based on Ruby. Today I will guide you to install and use it.
1. Install:
Step 1: Some required settings before installing the tool:
-
- Ruby or Ruby+Devkit using RubyInstaller for Windows 2.7 or higher
- Shopify Ui:
gem install cli-ui - Shopify CIi:
gem install shopify-clior
brew install shopify-cli
You can refer to Shopify’s Shopify Cli installation guide here.
Step 2: Download our toolkit on the following git link: https://github.com/magepow/shopify-tool and put the downloaded folder in the folder you want to put.
Step 3: In the folder you downloaded above, duplicate the aloshopify.rb file, paste the file as a shortcut, and rename it aloshopify.

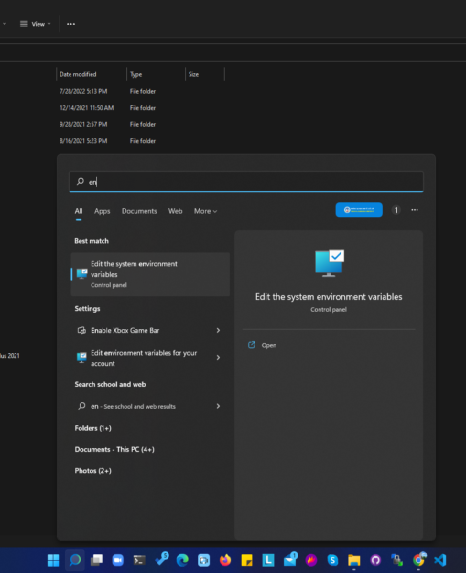
Step 4: Set the environment variable for the tool you just downloaded. Follow the instructions below to set the environment variable.
Go to the search section of your computer > Search for the keyword edit the system environment variables
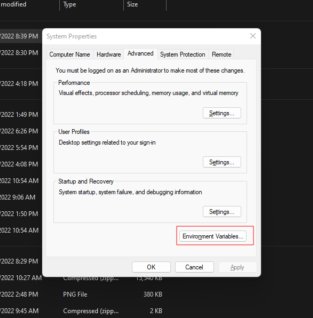
Click on Environment variables
In System variables, click on New
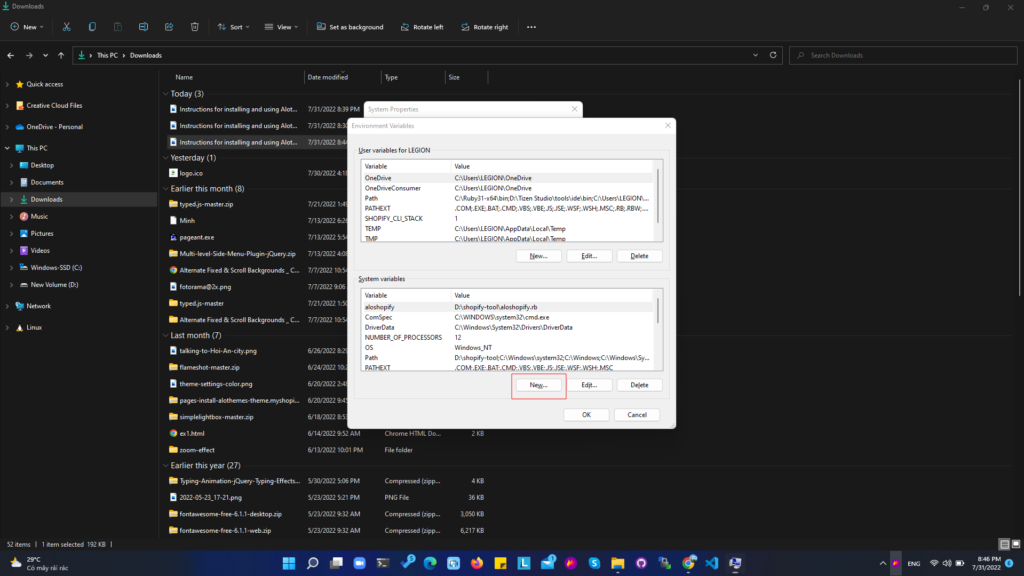
Enter the variable name and value as the link to the tool folder you downloaded above
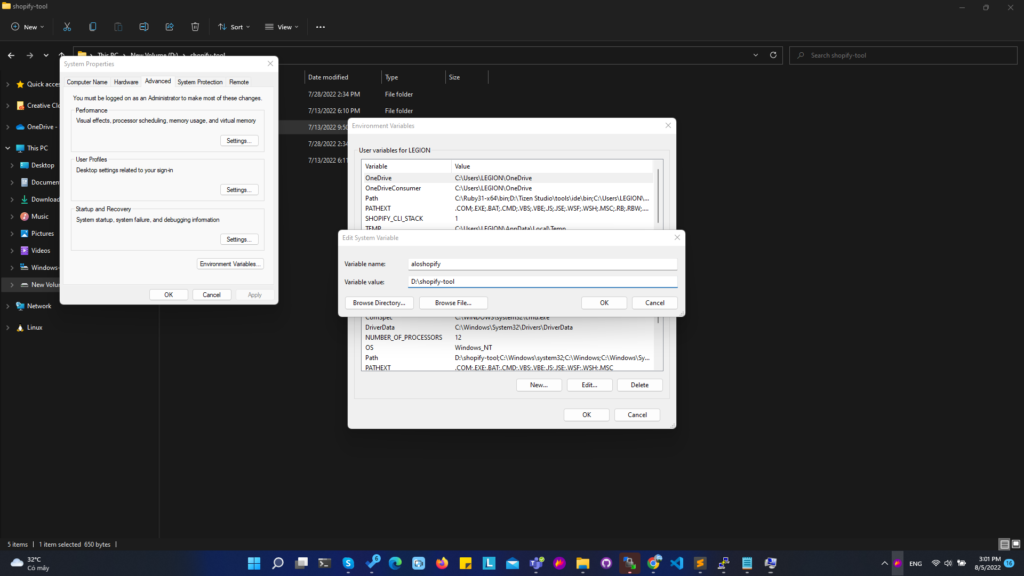
Also, you need to add the path to the aforementioned folder in the user variables table.


Click on Ok to close the popup.
2. Use:
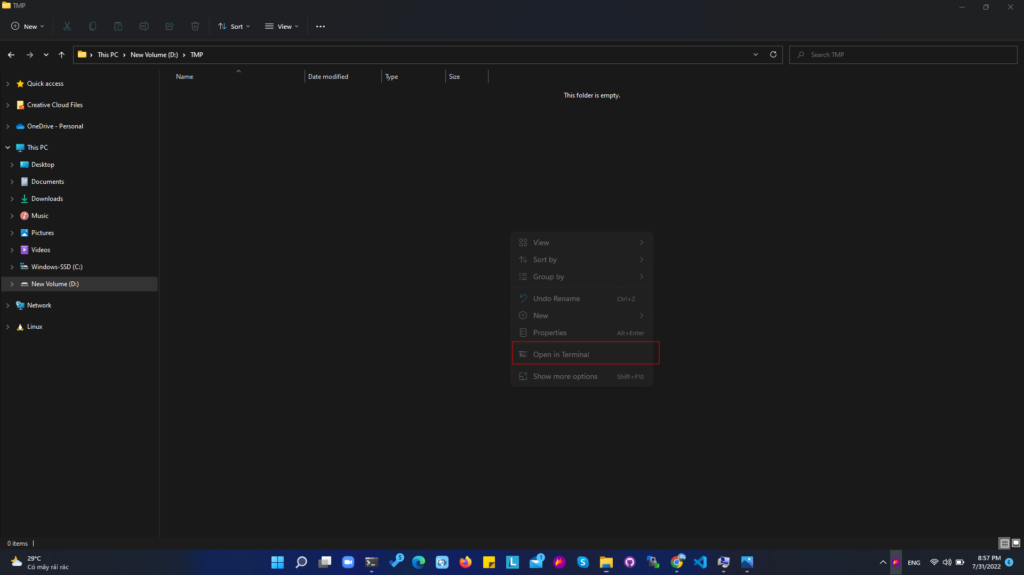
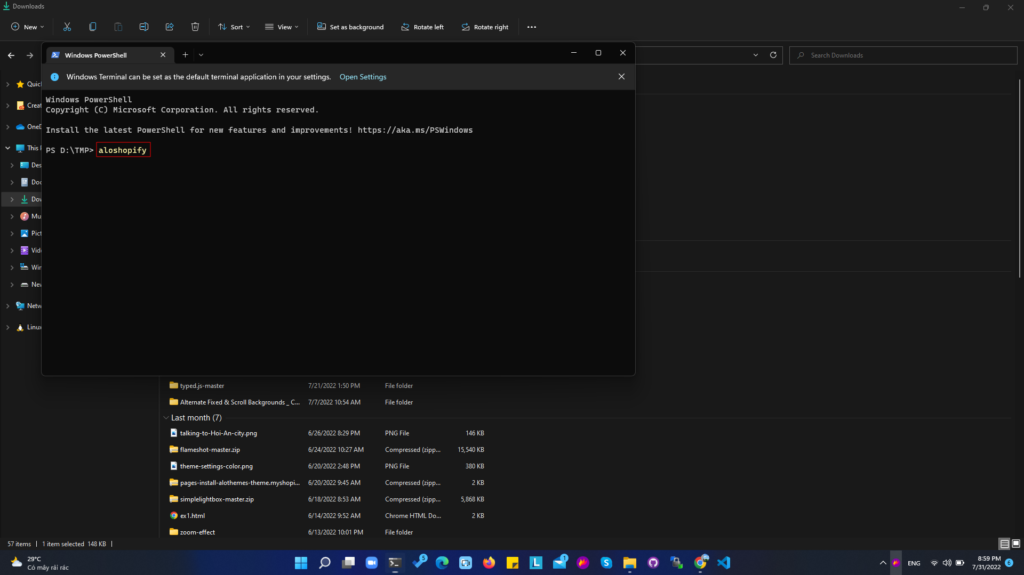
To use the tool, go to a folder you want > Right click and select Open in terminal
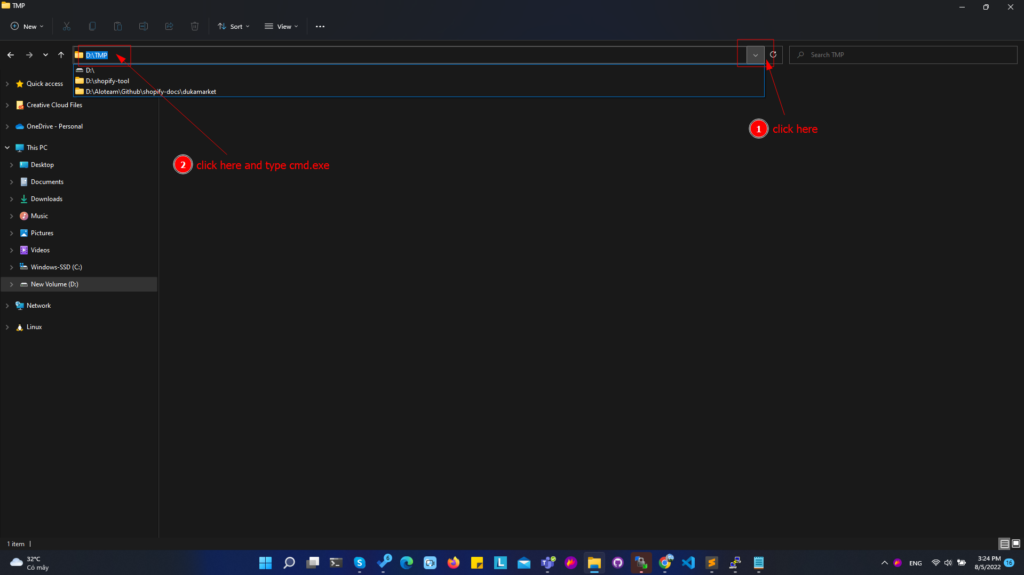
If you don’t see Open in terminal when you right-click you can click on the file path and type cmd.exe or C:\Windows\System32\cmd.exe to open the command windows.
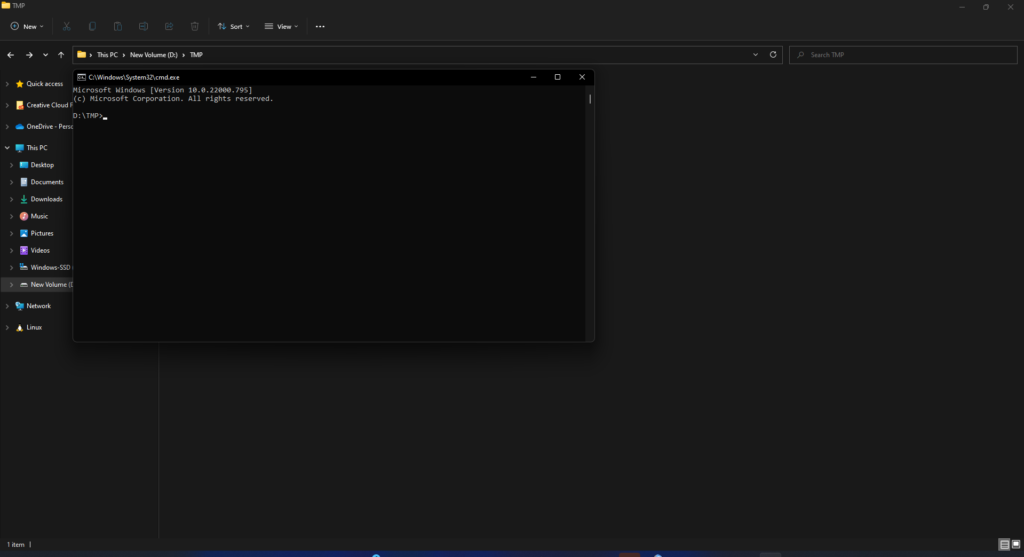
Type aloshopify to run the command
Now a series of options will be listed, please review and select the command you want to use and enter the number corresponding to that command.

When using it be careful especially with some commands like 15 as it will replace all files on all your themes and all your stores.