
Contents
Now, we will check out the method of enabling WSL on Windows. So, let’s start!
How to enable WSL on Windows using Control Panel
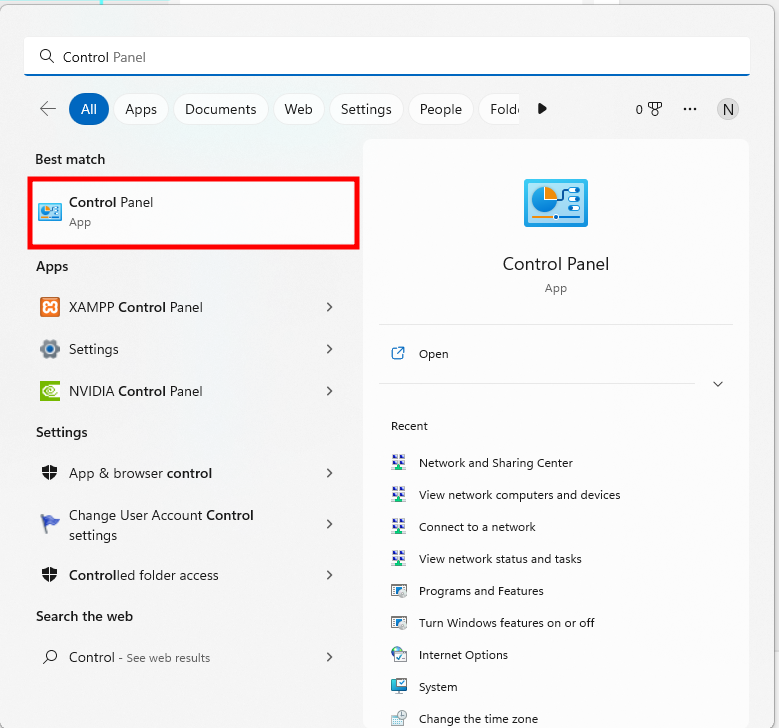
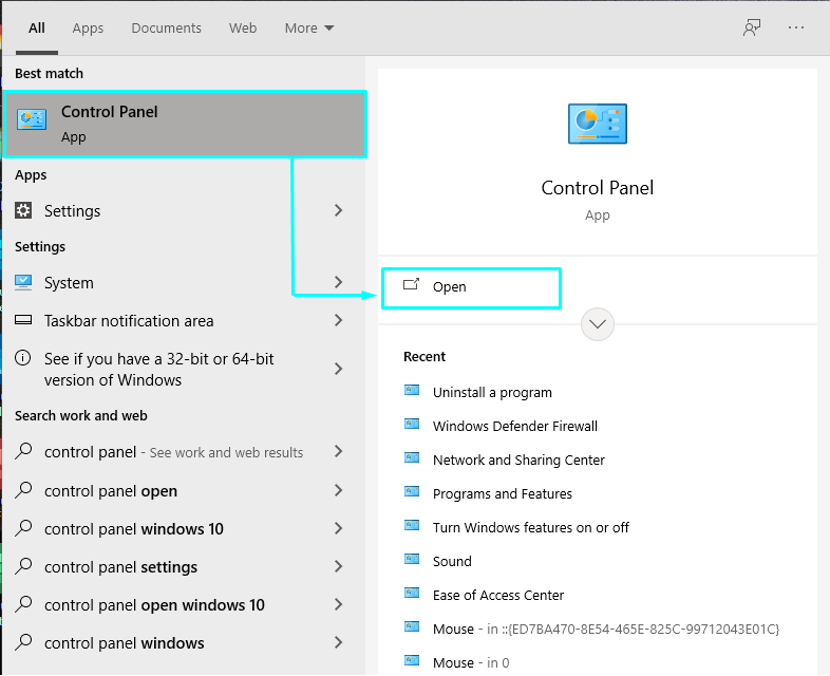
If you want to enable WSL on your Windows operating system, then open the “Control Panel” of your system:
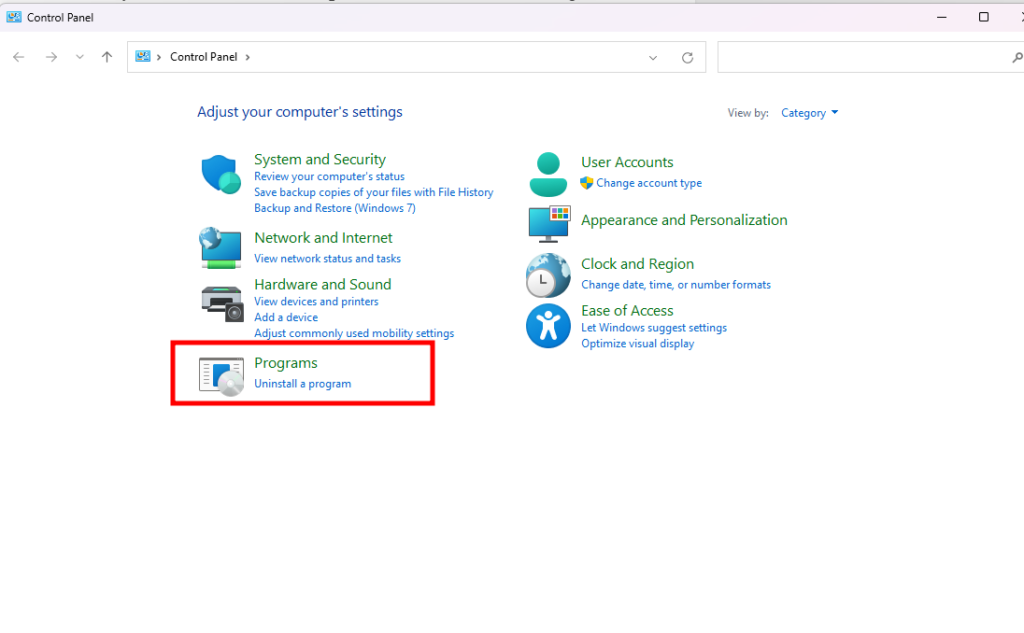
In the Control Panel, you have to select the “Programs” in between various categories:
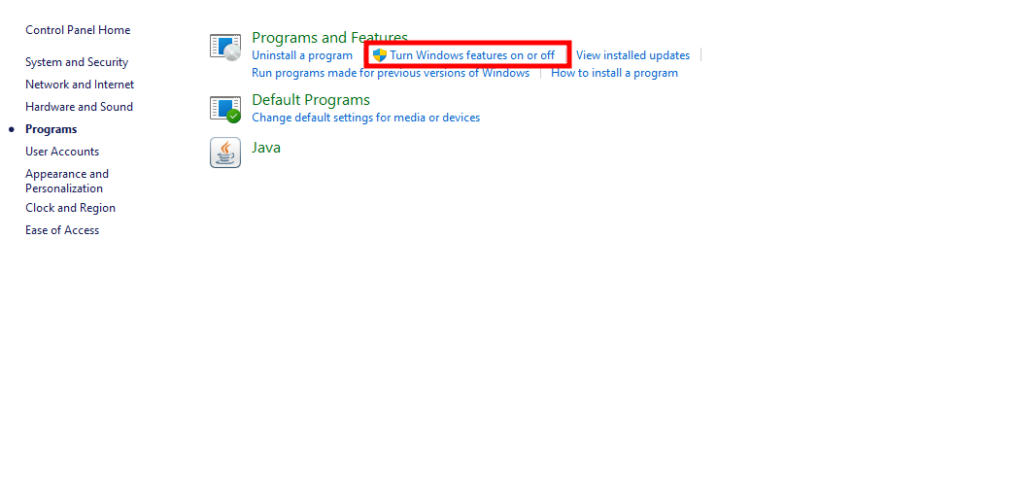
Then, click on the “Turn Windows features on or off”:
How to install CentOS using WSL
1 year ago
WSL is an acronym for “Windows Subsystem for Linux”, and this advanced feature is included in Microsoft Windows 10 and Windows Server 2019 operating systems. WSL offers compatible execution of the Linux Binary files. Without utilizing virtual machine software like Virtual Box, the Windows Subsystem for Linux or WSL permits you to understand and practically code Linux operating system commands directly on Windows systems. It is convenient to take advantage of various Linux operating systems features on Windows Laptops and PCs.
What are the benefits of using WSL
You can execute any Linux application in your Windows by installing the open-source X11 server. However, your system performance will be poor due to the lack of hardware and audio acceleration. There are numerous benefits of using WSL, and we have listed some of them as follows:
- WSL can test Linux applications without installing a virtual machine.
- You can install and configure Nginx web servers, Apache, various Linux distros, and applications, such as Kali Linux, Ubuntu, Debian, and OpenSUSE, by using WSL.
- It utilizes fewer resources as compared to virtual machines.
- It also lets its users explore the file system.
- WSL also permits you to run Linux in bash shell with the distro as per your choice.
The WSL is a Microsoft-developed compatibility layer for running Linux binaries. In 2016, WSL 1 was released which does not comprise any Linux kernel code; instead, it utilizes a kernel interface compatible with Linux. WSL 2 was released in June 2019, which utilizes modern virtualization technologies to run a “real” Linux kernel within a lightweight Windows virtual machine (VM).
0 of 59 secondsVolume 0%
Now, we will check out the method of enabling WSL on Windows. So, let’s start!
How to enable WSL on Windows using Control Panel
If you want to enable WSL on your Windows operating system, then open the “Control Panel” of your system:
In the Control Panel, you have to select the “Programs” in between various categories:
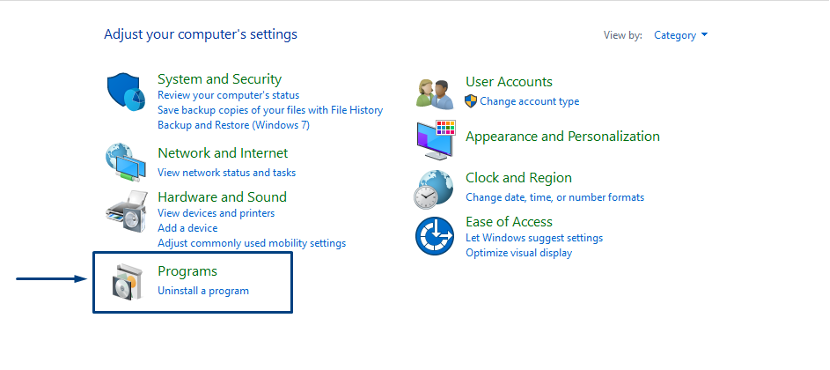
Then, click on the “Turn Windows features on or off”:

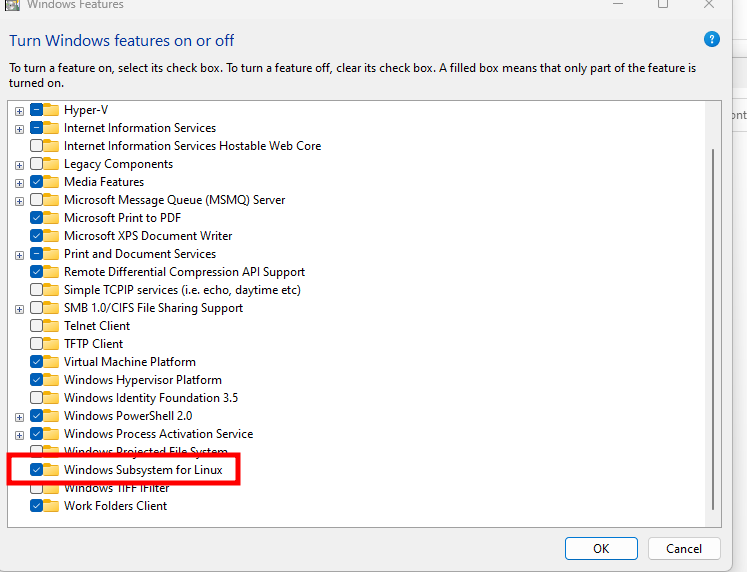
Now, search for the “Windows Subsystem for Linux” feature, select its check box, and click “OK”. This action will turn on the WSL feature of your Windows system:
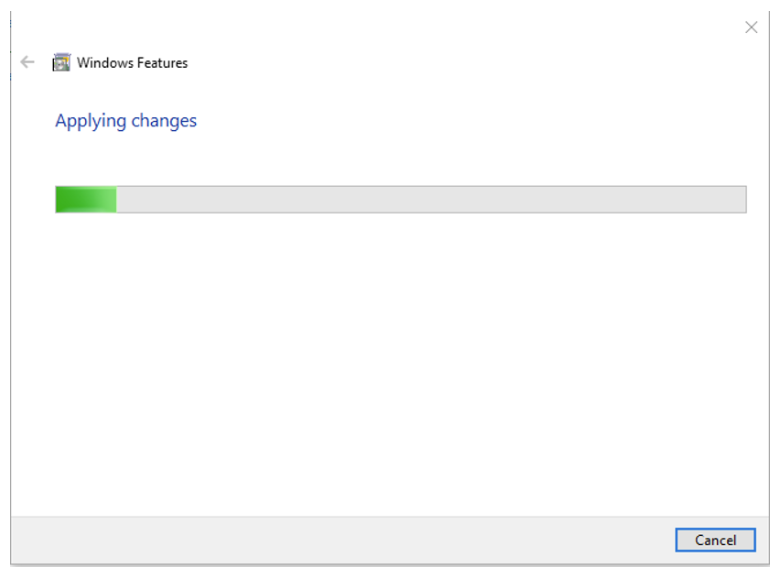
Wait for few minutes, as the WSL is getting installed on your system:
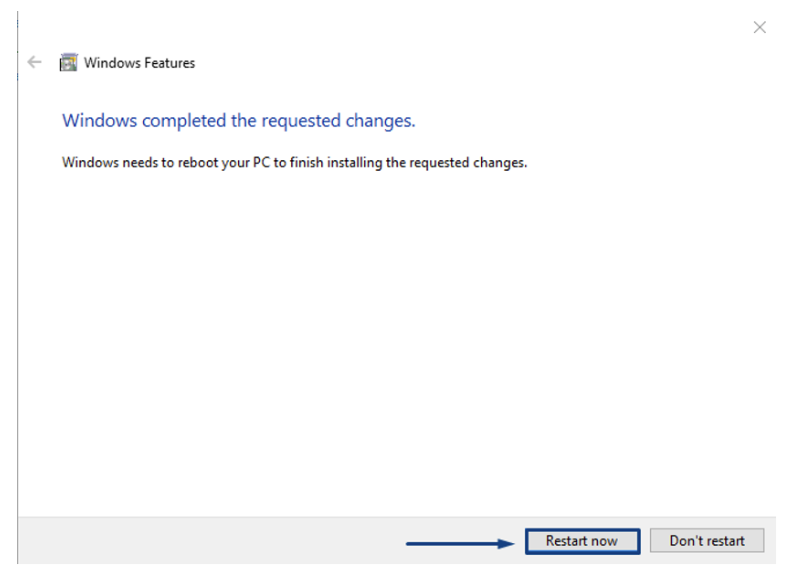
To install the requested changes, reboot your Windows system by clicking on the “Restart now” button:
How to enable WSL on Windows using PowerShell
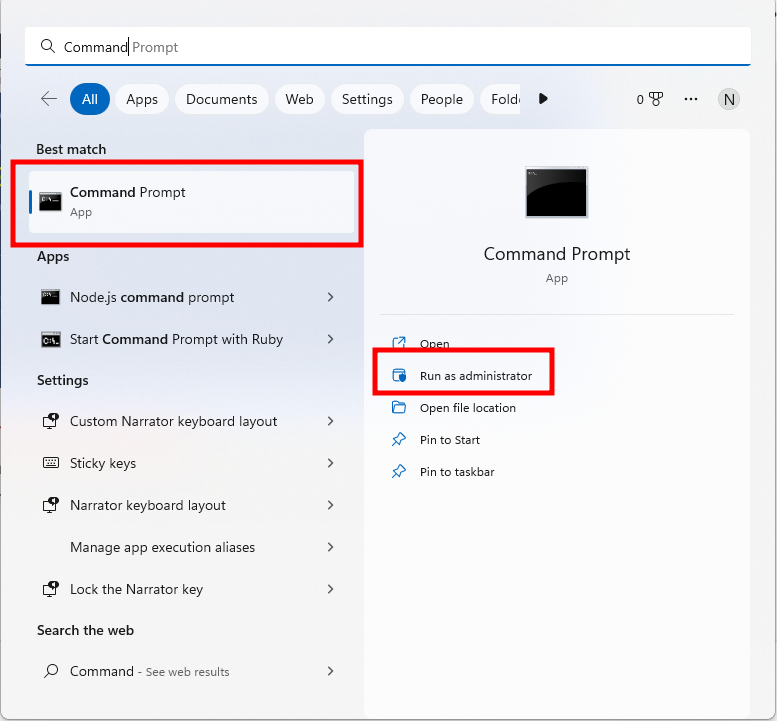
You can also utilize Terminal for enabling WSL on Windows. To do so, run PowerShell as an administrator in your system:
Now, execute below-given command in your PowerShell for enabling the WSL feature:
dism.exe /online /enable-feature /featurename:VirtualMachinePlatform /all /norestart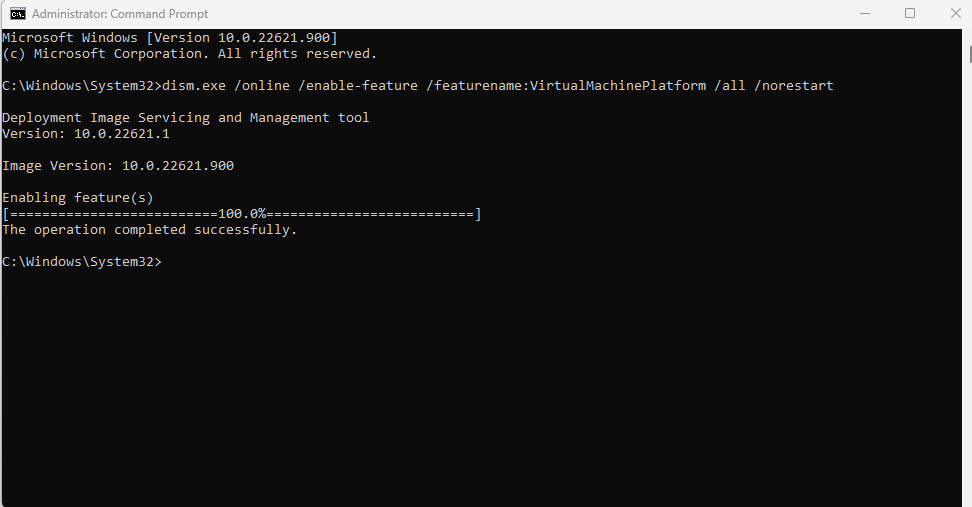
How to update the WSL on Windows
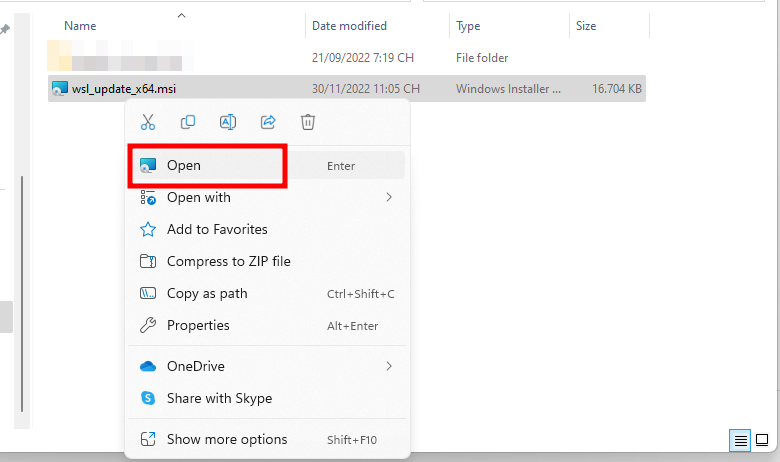
Now, open this link and download the WSL update installer package. After its successful download, click on the WSL update Package, and from the right-click context menu, select the “Open” option:
Follow the instructions of the wizard to install the WSL update:
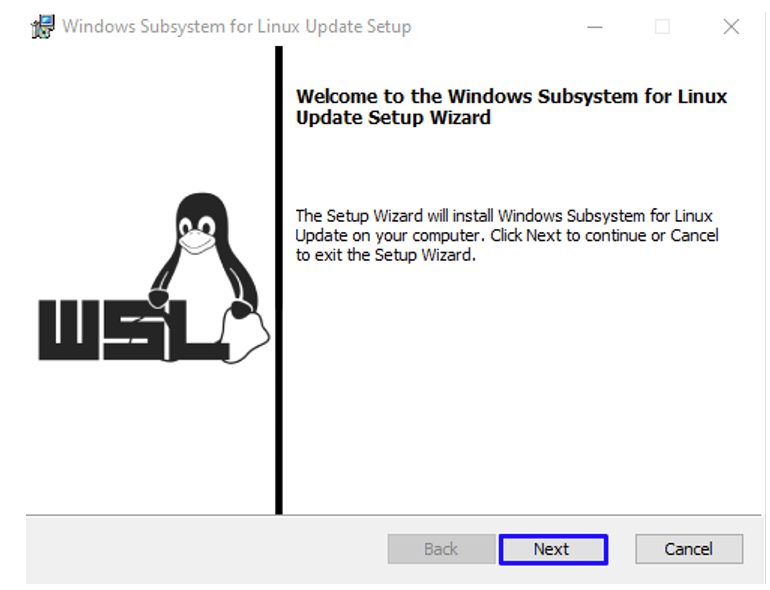
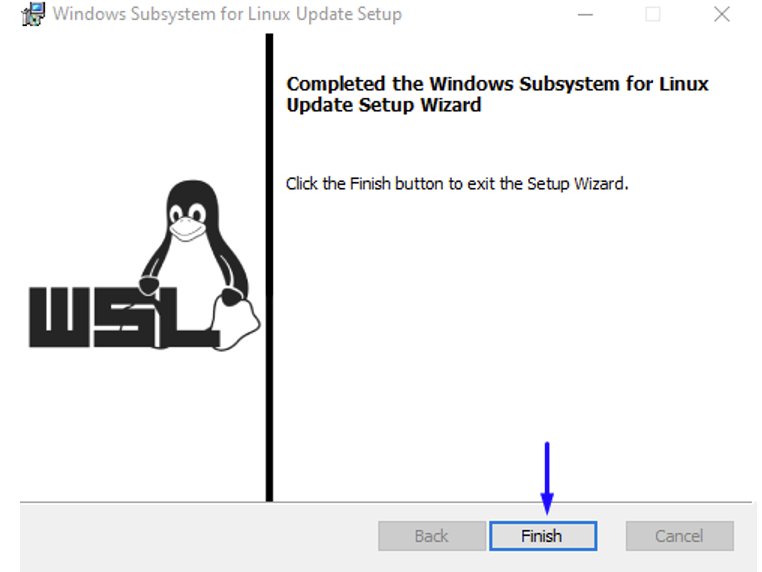
You have to wait for few minutes while the system installs the WSL update and when it will get completed, click on the “Finish” button to exit the wizard:
How to install Centos using WSL on Windows
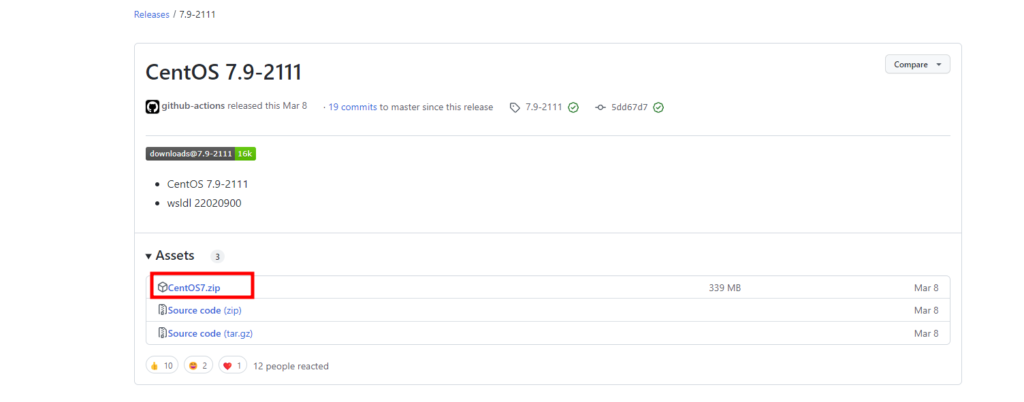
To install CentOS using WSL on your system, download the CentOS WSL “CentOS7.zip” file by utilizing the following link:
Right-click on the downloaded “CentOS7” file and extract this zip file on your system:
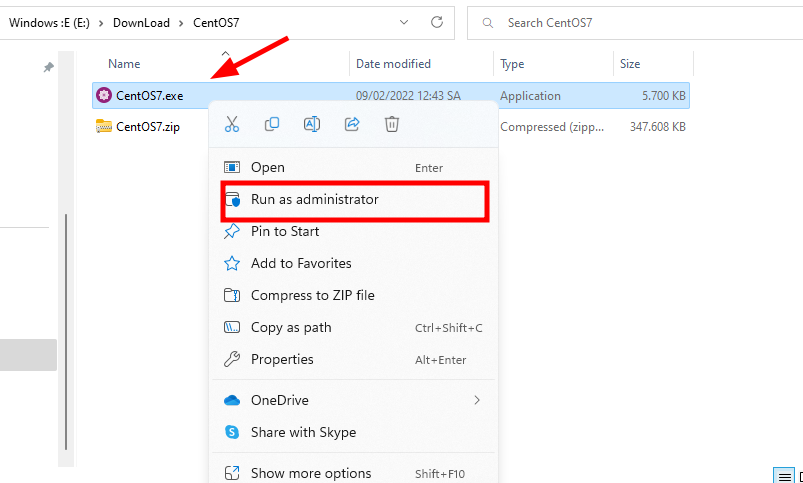
The action mentioned above will extract all required files and register them on your WSL.
Again, run the “CentOS7” application as administrator:
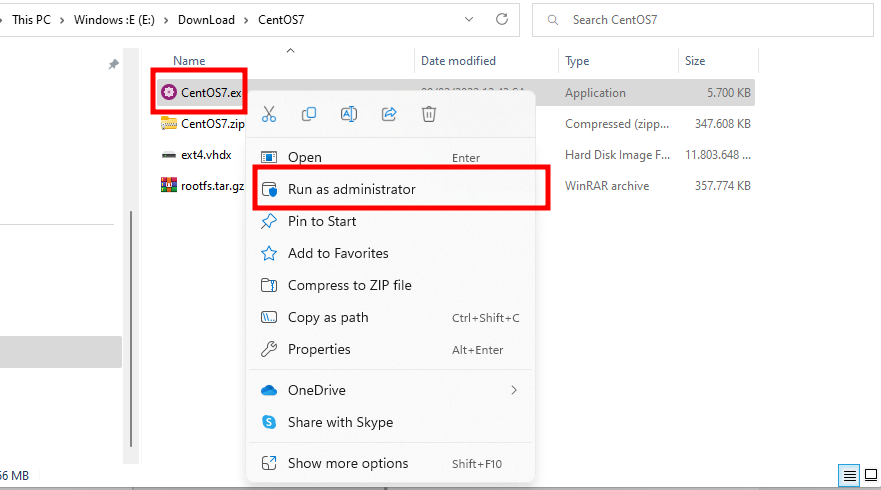
Now you can work in your WSL for CentOS:
This CentOS WSL permits you to execute any command you want to run on a CentOS machine. For instance, to update the system repositories, we will execute the command given below.
yum -y update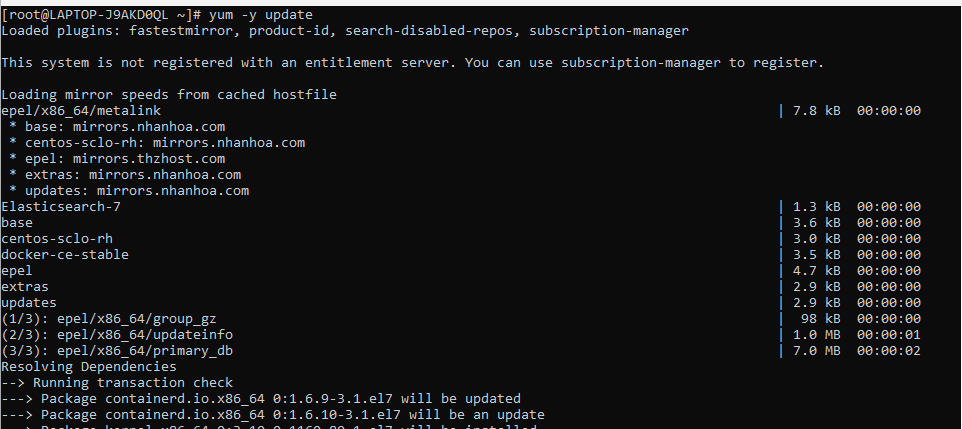
That’s how you can use WSL CentOS for executing any command:
Conclusion
For Windows users, the Windows Subsystem for Linux or WSL is a cutting-edge feature as it permits you to execute and understand Linux commands directly on a Windows system without using virtualization software such as Virtual Box. This post provided you the method of enabling WSL on your Windows system. Moreover, we have also shown you how to install CentOS using WSL on Windows.
Note: If after restarting your computer and running “wsl” you get this error follow the instructions below
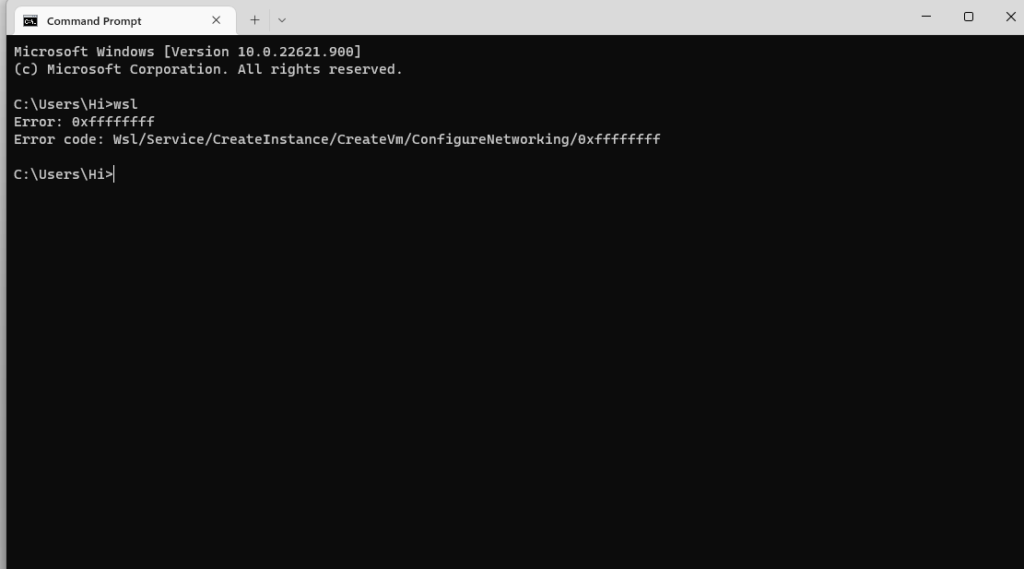
Step 1: Run CMD or Powershell with Administrator rights
Step 2: Then run the command below, to find the Process ID that is opening port 53
netstat -ano | findstr :53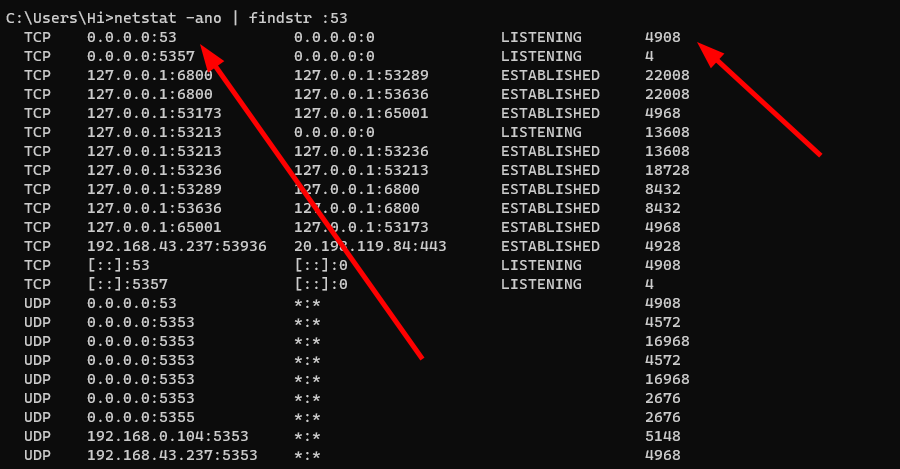
Step 3: Proceed to kill Process ID just found with the command below
taskkill /PID <process_id> /F
==============================
taskkill /PID 4908 /F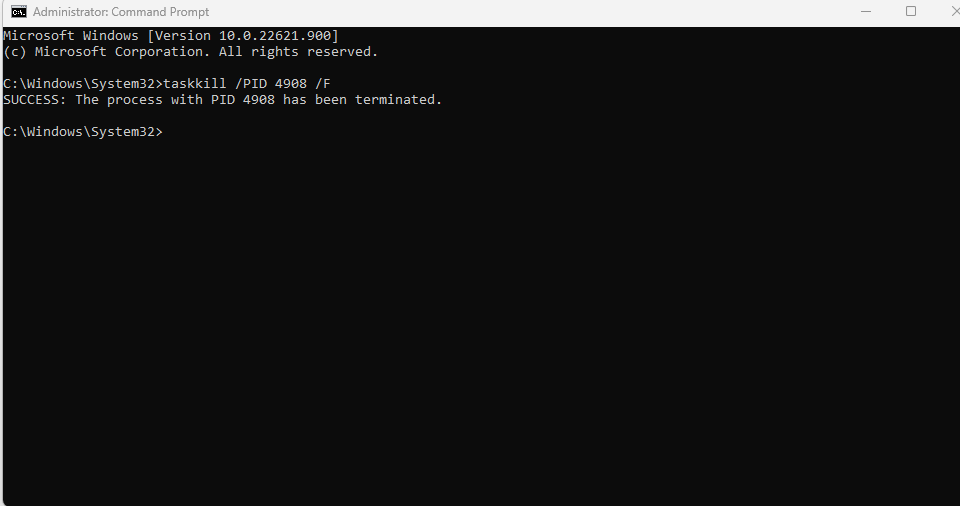
So you have successfully killed the process that is using the port.