If you want to build a store in different languages. Shopify makes it easy for you to do that. In this article, we will learn how to create a multilingual store with Shopify
To build a multi-language platform for your Shopify store, follow these steps:
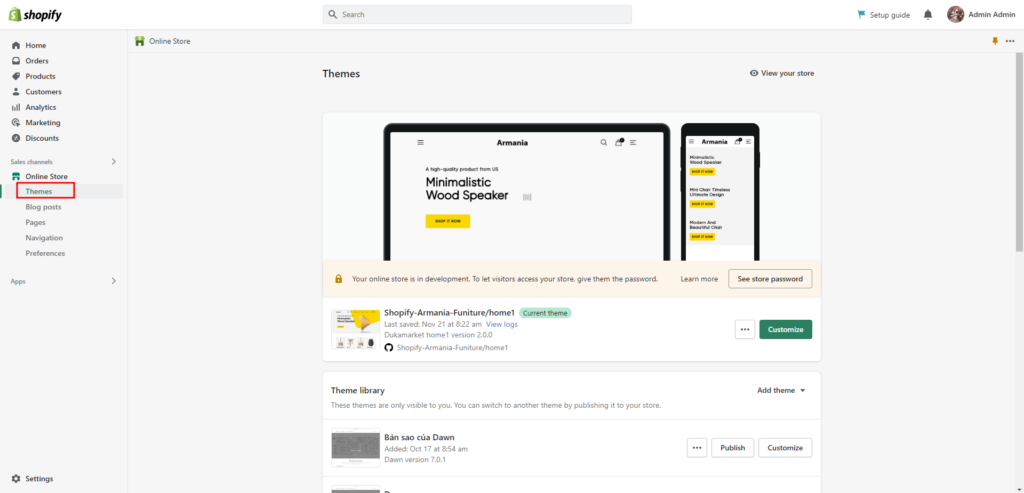
Step 1: Log in to your Admin Panel.
Step 2: In Online Store, choose Themes.
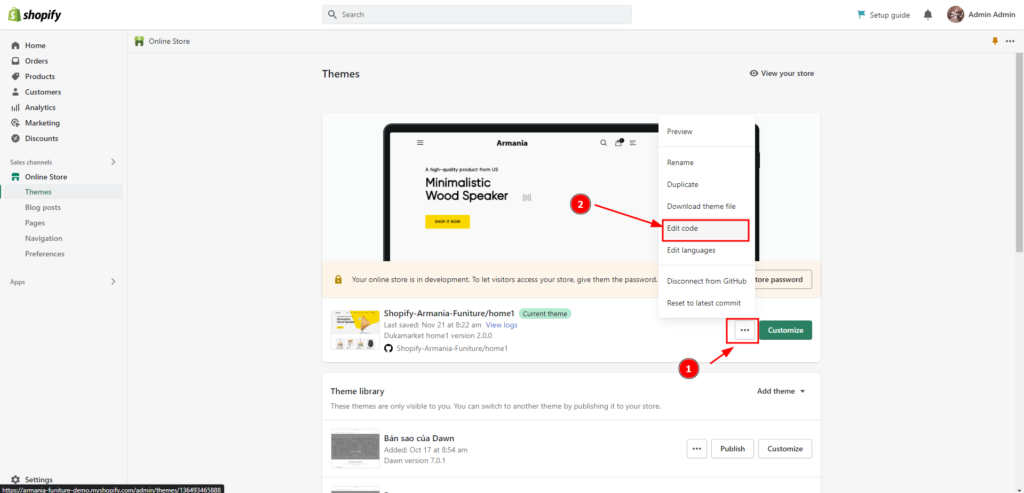
Step 3: Click on the … button to open the dropdown. Choose Edit code
Step 4: Open the locales/en.default.json file to add translation path for text in files and locales/en.default.schema.json to add the translation path for settings schema in the section.
Syntax to add translatable text:
{{ link in [locales/en.default.json] file | t }}Example:
In locales/en.default.json file:
{
  "blog": {
    "comment": {
      "email": "Su correo electrónico"
    }
  }
}
Use this translation:
<span>{{ 'blog.comment.email' | t }}</span>Syntax to add translatable settings:
t:link in [locales/en.default.schema.json] fileIn locales/en.default.schema.json file:
{
  "blog": {
    "comment": {
      "email": "Su correo electrónico"
    }
  }
}
Use this translation:
t:blog.comment.emailNote: Native file naming must follow standard IETF language tag nomenclature, where the first lowercase letter code represents the language and the second uppercase letter code represents the region.
Example:
en-GB.json
es-ES.json
fr-CA.json
….