Even in the constant growth of technology and advancement, Email remains one of the most powerful tools for businesses to get in touch with their customers. For Ecommerce orders, it plays a vital role to inform and communicate with the customer in a cost-effective way. And, the order confirmation is one of it, which is used to provide store order placement acknowledgment to your customers to prevent miscommunication. It emphasizes customer relationships and provides more clear information regarding their transactions in your Magento 2 store.
Generally, these emails can be manipulated from the Magento backend. But you can change and update content or design, you can’t add dynamic value inside the mail. To include dynamic value inside your email template, you have to add your custom parameter too. So, here is three steps guide that will help you to add custom parameters in Customer Order Email of Magento 2.
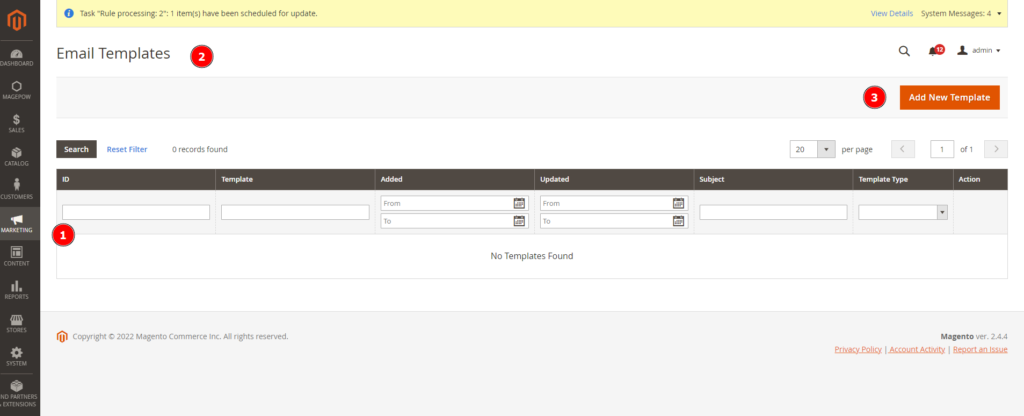
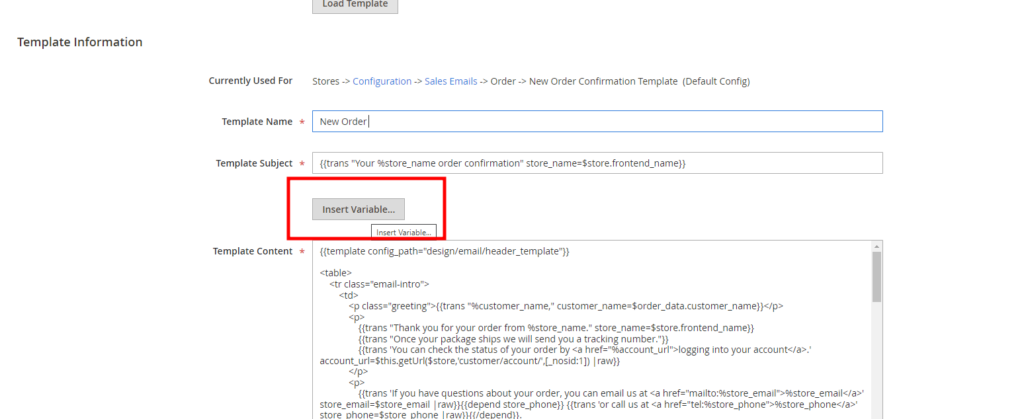
You can replace the old email template by going to Admin panel > MARKETING > Email Templates > Add New Template
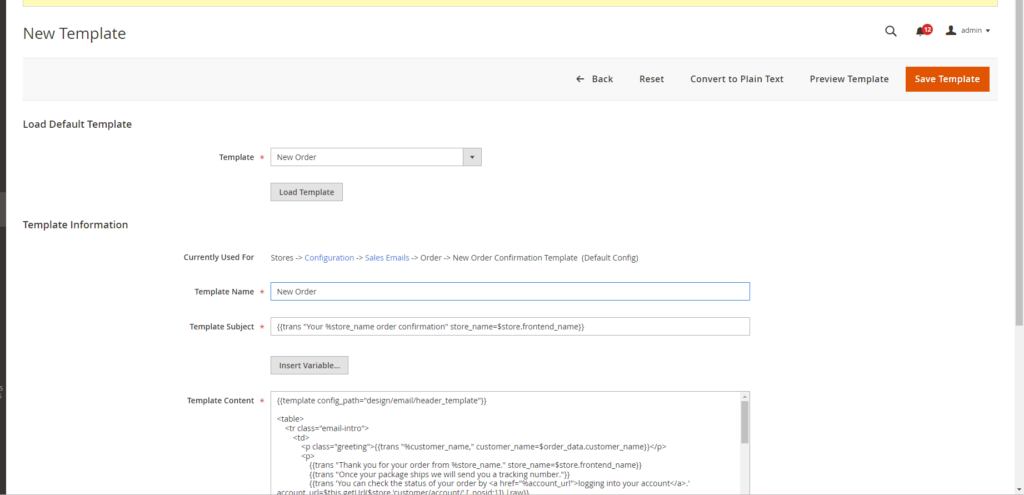
Select the corresponding template then click Load Template the display tag data from the template will be displayed and you can replace it.
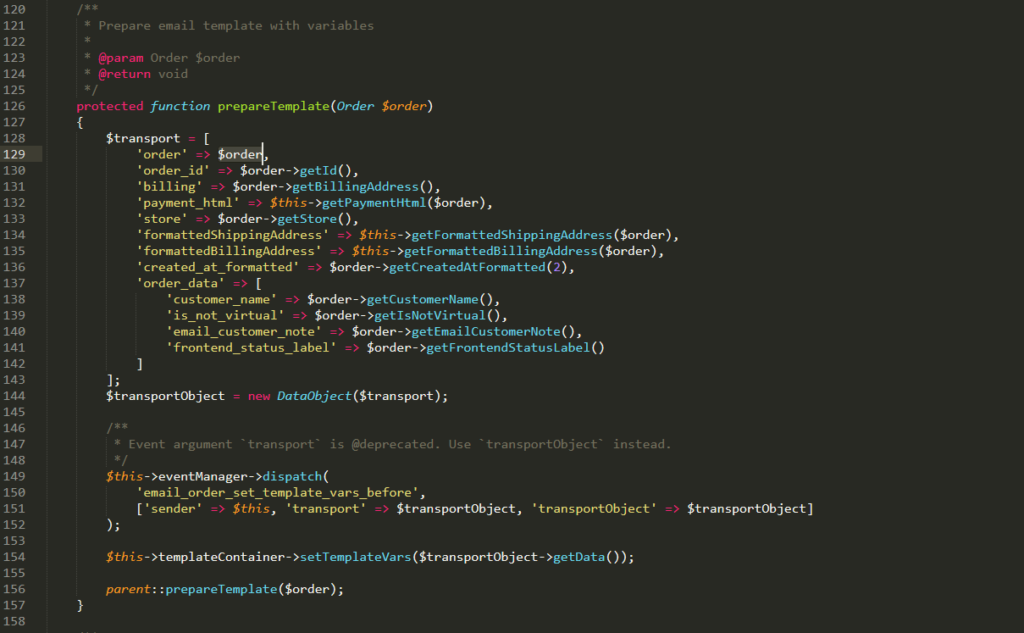
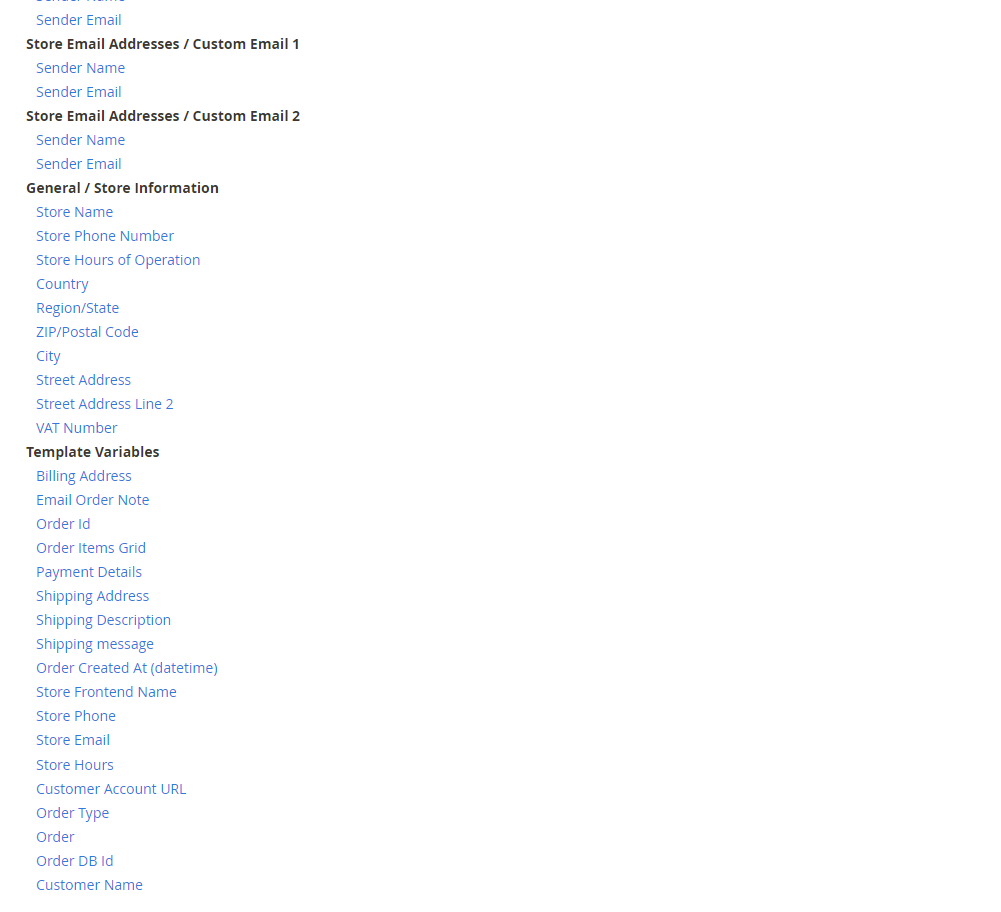
the corresponding sample data you can call up here but if some fields in the table you want to call out but don’t want to write an extra module. Please check the corresponding columns in the table sales_order
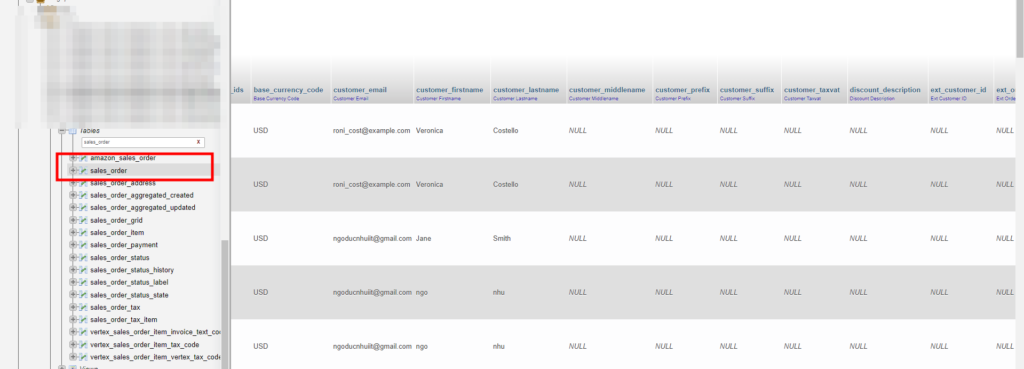
Here you can get the corresponding column name for example customer_email is not in the previous data table in the template you can call
<p>Email: {{trans "%customer_email" customer_email=$order.customer_email}}</p>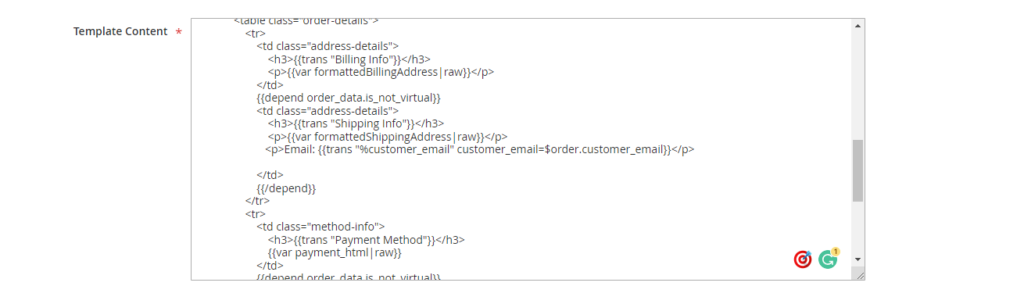
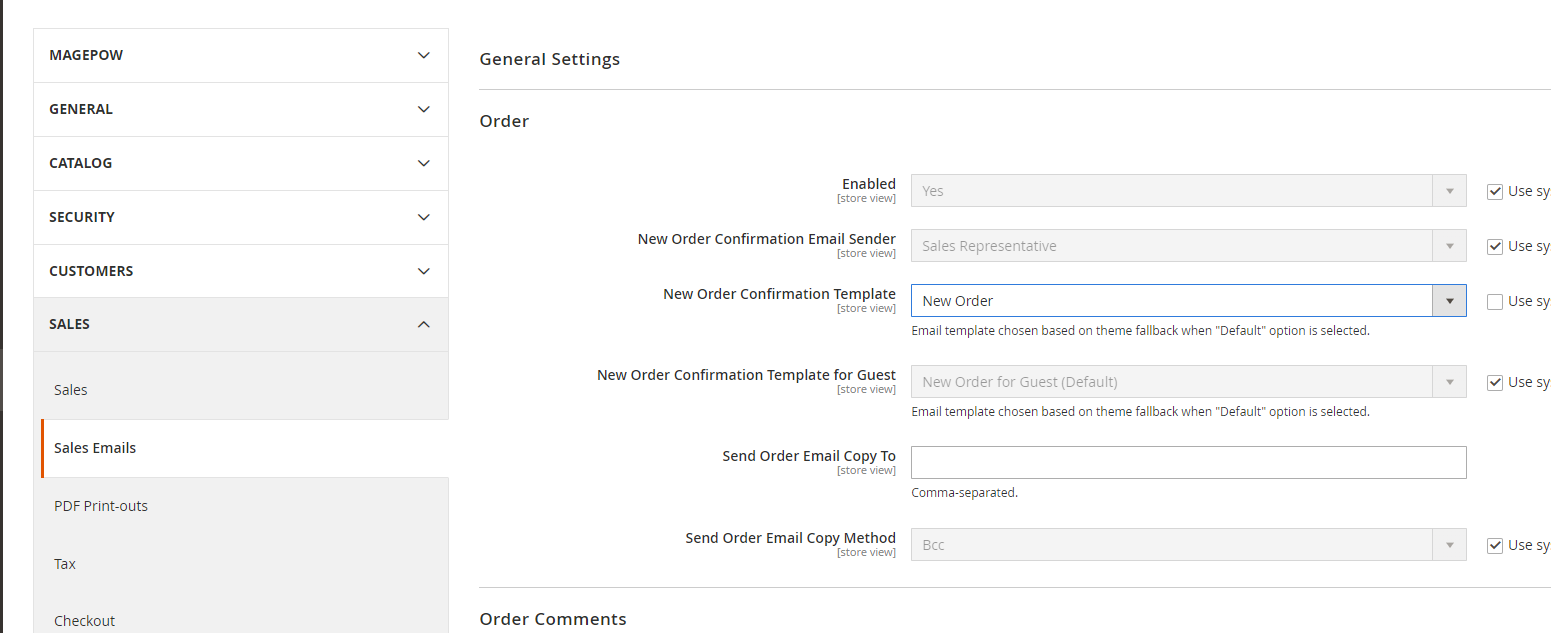
After editing the template is complete, go to Admin panel > STORE > Configuration > SALES > Sales Email > New Order Confirmation Template

Select the email you edited before, continue to click save to buy new products and check the results