
Contents
Shopify is an e-commerce platform that allows you to create an online sales website based on the Cloud SaaS model. Here, you can create your own online sales website with all the features. Here is a basic guide to using shopify.
Create Shopify Account
- Go to Shopify.
- Choose a 14-day free trial.
- Right at the homepage click on the button “Start free trial”
- Enter your email, password, and store name. Click “Create your store”.
- Fill in the information, select any line and check the squares to receive help from Shopify. Uncheck the last box if you are not a designer or programmer.
- Add your personal information and click “Enter my Store”. So you have your own store already

Domain Name Registration
Next, you need the domain name as an address for customers to come to when they have a need to buy. At the admin page, select “Online Store”, select “Domains” and then “Buy New Domain”.
Fill in the domain name and choose the extension, the price of the domain name at Shopify is currently from $11 depending on the type. Click “Check Availability” to check if the domain name has been registered. If you receive the message below, you can register this domain name, enter your credit card information to pay.
Click “Buy Domain” then go to your email to verify the information. Finally, at “Online Store” select “Domains”. Then in the Set your primary domain: Select your primary domain name, check the box “Redirect all traffic to this domain” and click “Save”.
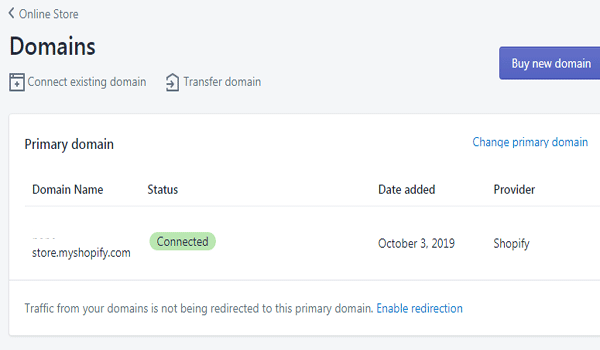
Put The Shop Into Operation With The Domain name
In case you buy a domain name from another registrar or already own the domain name. At Online Store select “Domains” and “Connect existing domain” to add your domain name.
Settings Interface, Logo, Slideshow
In the Online Store section, select “Themes” and scroll down to select “Explore free themes”. Shopify supports preview so you just click to see, choose any theme, then click “Add to theme library” to download.
The added themes will be in the same position as the photos, you can choose “Customize” to edit. “Action” to select the action, click “Action” and select “Publish” to use the downloaded theme.
The Customize interface is quite easy to use when you just need to click on the left column to add or edit objects. Theme setting with color, font, logo options…
After installing with the Themes Tab, select “View your store” to view your website.
Language Settings
Shopify uses the default language of English for its websites. However, you can easily install any languages for Shopify by selecting “Action” and “Edit language”, edit all to your liking and save.
At the Online Store Tab you select “Navigation” to set up navigation and menu bar. Select “URL Redirects” to navigate. “Create URL Redirects” add the link you want to navigate and save “Save Redirect”.
Select “Add menu” to create a menu bar, add the name of the Menu in the Title section, add buttons by selecting “Add menu item”, insert a link and enter the button name.
Import Products
To add products for sale to your store, select Tab Products. Click “Import” to use the CSV file.
Or you choose “Add Product” to add each product, fill in information, images, add prices for products, save and view the results.
Payment Method And Delivery Method
At Settings, select Payment Providers to set up the payment function. We encourage you to use Paypal for the convenience of your customers. Select “Active Paypal Express Checkout” and enter your Paypal email.
At Setting you choose Shipping to configure the function and cost for shipping. You can add the shipping cost for each region at “Manage rates” or shipping product size.
Hopefully, the above article has given you an overview of how to use shopify. At the same time, the above information will help you in the process of optimizing your e-commerce-based business most effectively.