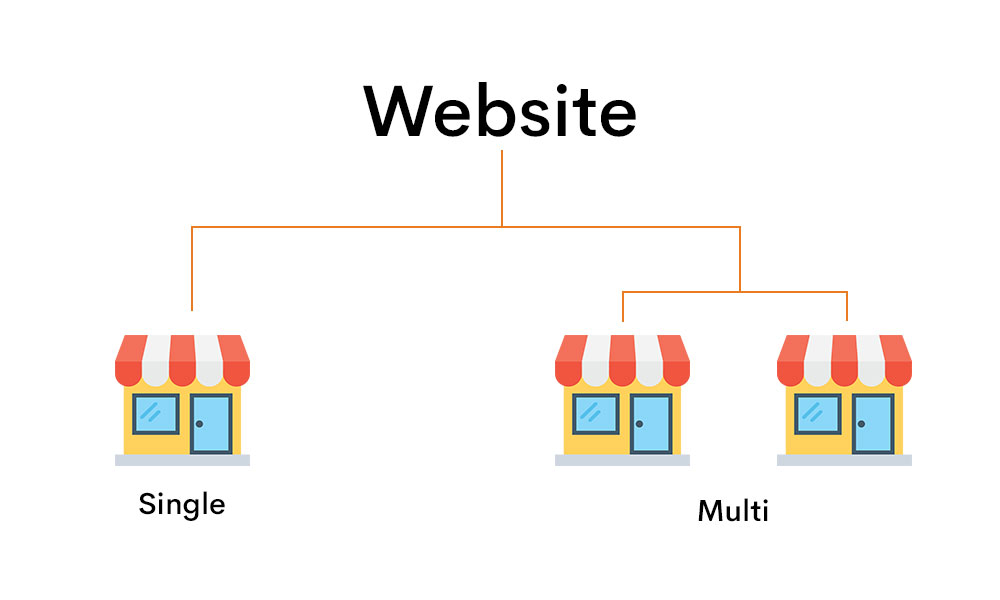
By default, the single store mode is disabled by Magento. If your system has only one store, you can simplify the display by turning off the view options and showing the range indicator for each setting. And if you add more than one store view, the one store view will be overridden.
To enable single store mode you need to follow these steps:
- Log in to your Admin Panel.
- One-to-one mode setting.
- Save Configuration.

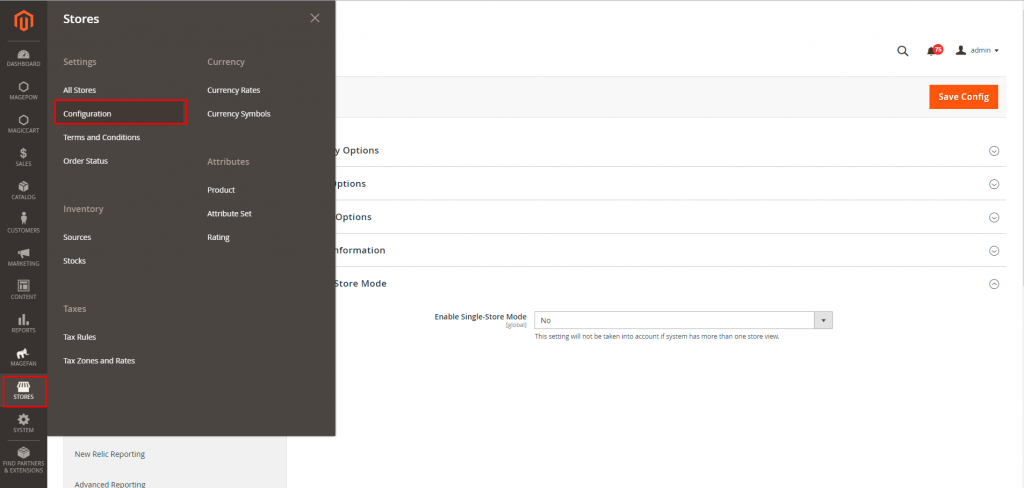
Step 1: Log in your account in Admin Panel and begin setting:
Login your admin account the following path:
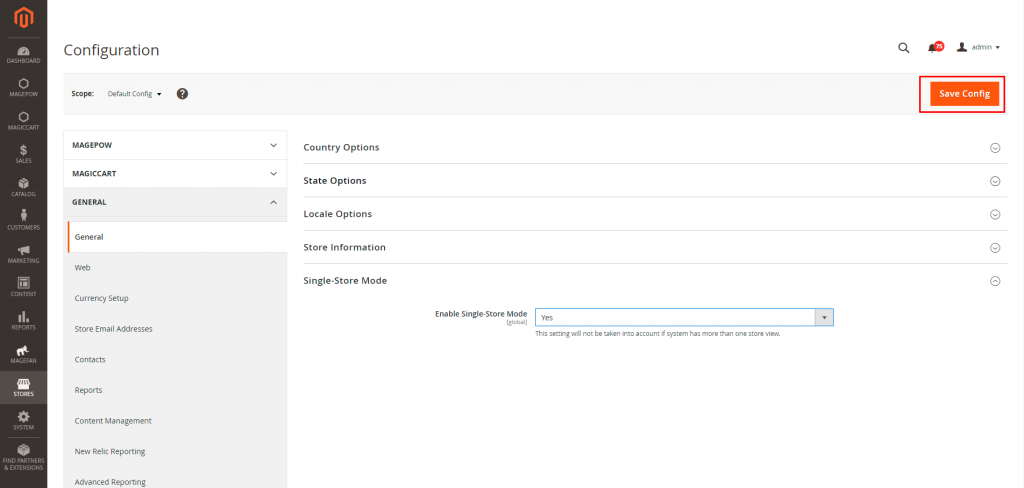
Admin Panel -> Store -> Setting -> Configuration -> General
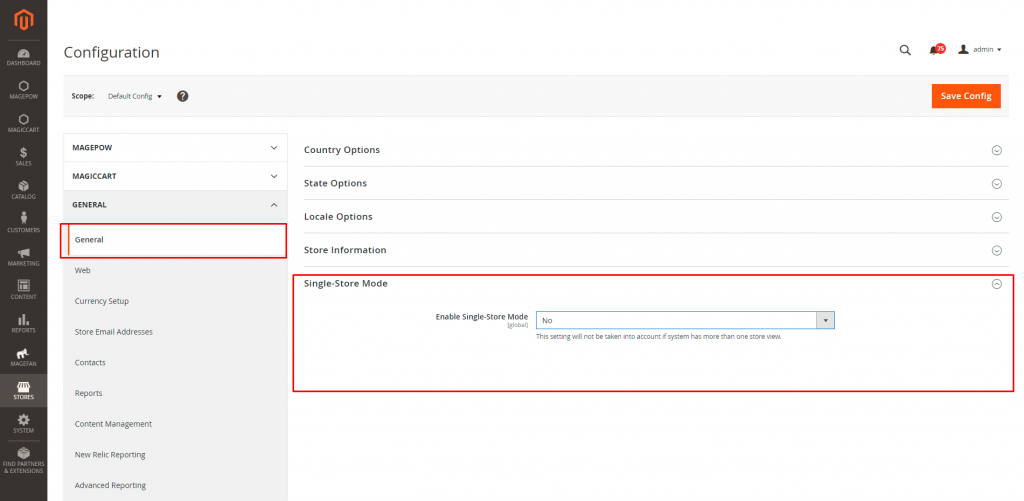
Step 2: Set up single store mode
In the Single Store Mode section, Change Single Store Mode to “Yes”.

Step3: Save the configuration
Click Save Config
Then proceed to clear the Magento cache and reload the page.
You can clear Magento cache like the following post: https://magepow.com/blog/how-to-clear-cache-in-magento2
Hope this article is helpful to you. Thank you and see you again.