
Changing the URL of a page or disabling it results in a 404 not found by the customer visiting the page under the old url. Not only that, when you change the page URL that has been SEO to the top, you also lose rankings and have to SEO the new URL. So how can we avoid 404 errors? The solution is to use 301 Redirect redirects. In this article I will guide you on how to create a 301 Redirect in Magento 2.
What is 301 Redirect?
An HTTP response status code (HyperText Transfer Protocol) that shows the response from the server where the page is hosted to the browsers that visited the URL. It simply says that the web page or URL is permanently redirected to another website or URL. In addition, it also transfers the values to the new address, the new page will inherit the full SEO power of the old page.
Create 301 Redirect in Magento 2
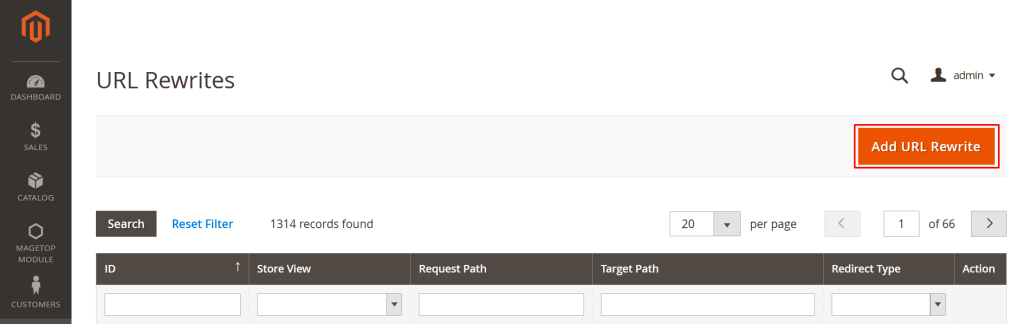
Step 1: Login to the admin page, select Marketing -> URL Rewrites.
Step 2: Select Add URL Rewrite.
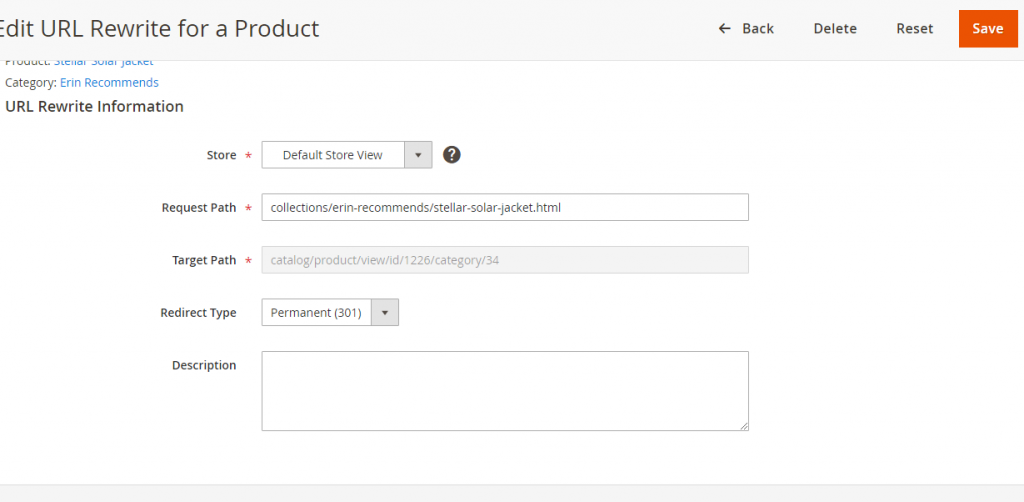
Step 3: Fill in the information
- Create URL Rewrite: Select Custom.
- Store: Select a view of your store.
- Request Path: Enter the path to redirect, this is the old URL.
- Target Path: Enter the target path to be redirected to, this is your new URL.
- Redirect Type: Select a 301 redirect type.
- Description: Add a description or cause, reason for a 301 redirect.
Hope this guide will help you!