
Contents
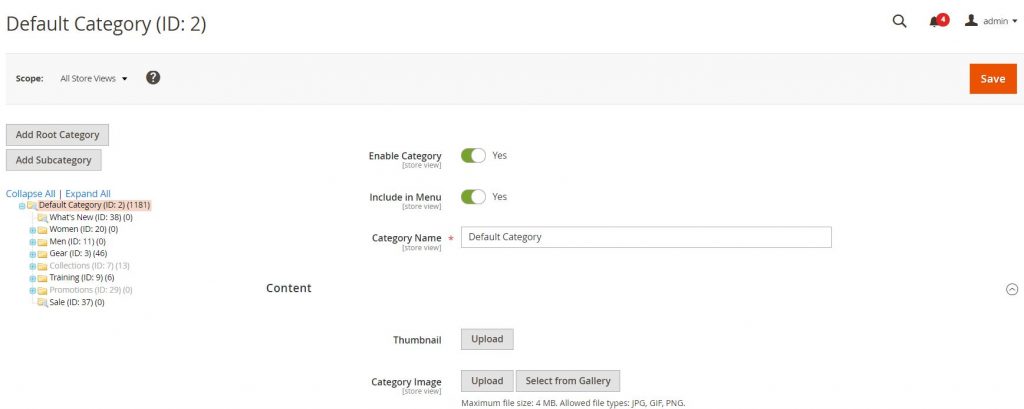
In Admin panel -> Catalog -> Categories, each Category has already had an attribute called Category Image but who knows you may need another field to set Image. So I will guide you on how to create an image attribute and how to use it.
Step 1 – Create your attribute in the database.
Create a InstallData.php file on location vendor\Module\Setup.
<?php
namespace vendor\Module\Setup;
use Magento\Framework\Module\Setup\Migration;
use Magento\Framework\Setup\InstallDataInterface;
use Magento\Framework\Setup\ModuleContextInterface;
use Magento\Framework\Setup\ModuleDataSetupInterface;
use Magento\Catalog\Setup\CategorySetupFactory;
class InstallData implements InstallDataInterface
{
public function __construct(CategorySetupFactory $categorySetupFactory)
{
$this->categorySetupFactory = $categorySetupFactory;
}
public function install(ModuleDataSetupInterface $setup, ModuleContextInterface $context)
{
$installer = $setup;
$installer->startSetup();
$categorySetup = $this->categorySetupFactory->create(['setup' => $setup]);
$entityTypeId = $categorySetup->getEntityTypeId(\Magento\Catalog\Model\Category::ENTITY);
$attributeSetId = $categorySetup->getDefaultAttributeSetId($entityTypeId);
$categorySetup->removeAttribute(
\Magento\Catalog\Model\Category::ENTITY, 'zetman_thumbnail' );
$categorySetup->addAttribute(
\Magento\Catalog\Model\Category::ENTITY, 'zetman_thumbnail', [
'type' => 'varchar',
'label' => 'Zetman Thumbnail',
'input' => 'image',
'backend' => 'Magento\Catalog\Model\Category\Attribute\Backend\Image',
'required' => false,
'sort_order' => 5,
'global' => \Magento\Eav\Model\Entity\Attribute\ScopedAttributeInterface::SCOPE_STORE,
'group' => 'General Information',
]
);
$installer->endSetup();
}
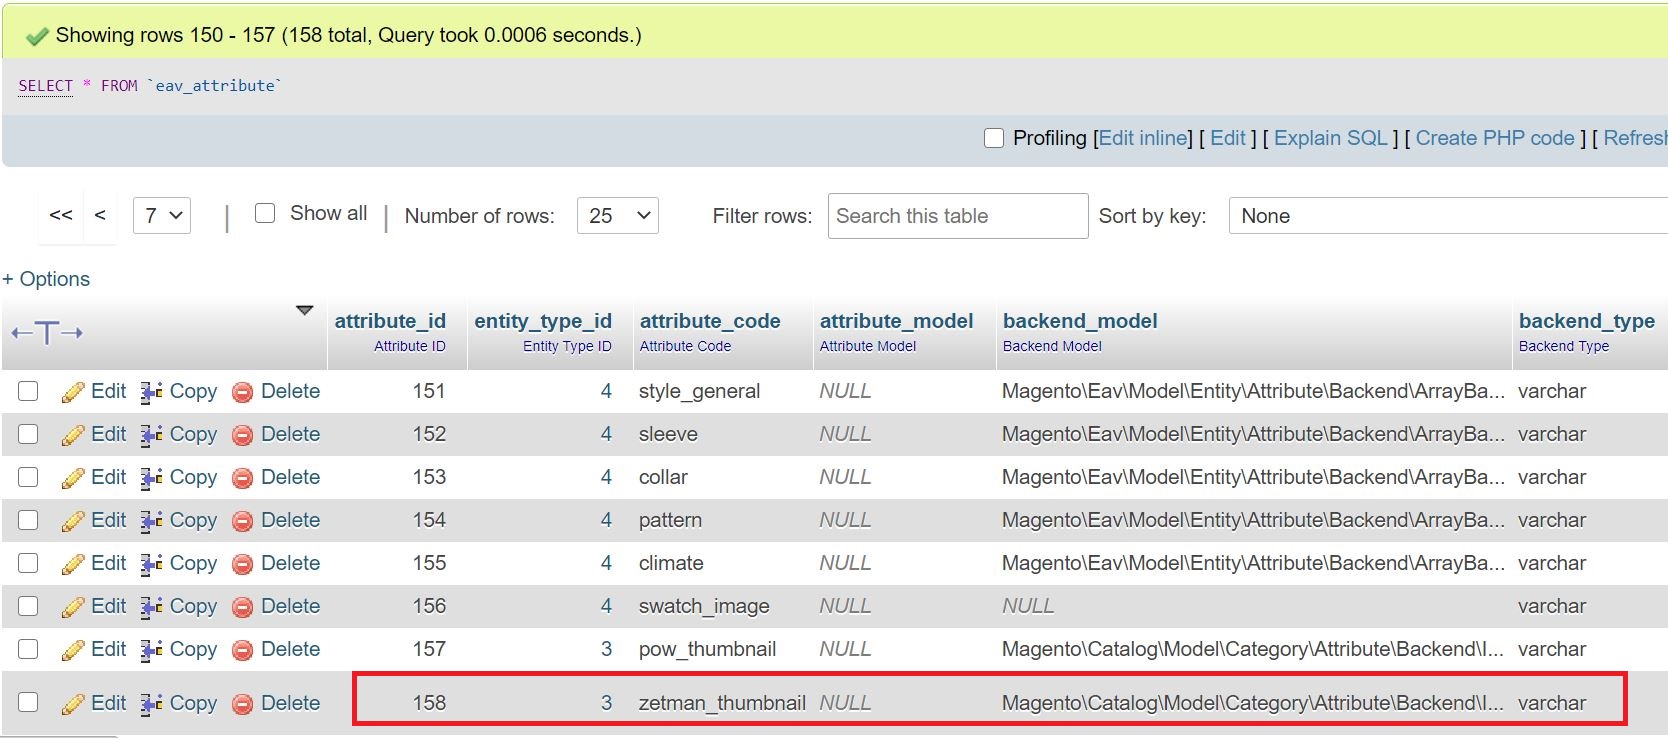
}This file create new attribute in table ‘eav_attribute‘ like this:
Step 2 – Create Image attribute field in admin
Create a category_form.xml file on location vendor\Module\view\adminhtml\ui_component.
Mind that path="vendor_module/category_thumbnail/upload", this path base on 3 parts frontname, controller and action.
You can find the frontname in etc/adminhtml/routes.xml and in this example, my frontname is ‘vendor_module‘. The controller is ‘category_thumbnail‘ which is folders contained in Controller/Adminhtml and leads to action ‘upload‘. You will know it better in step 4.
<?xml version="1.0" encoding="UTF-8"?>
<form xmlns:xsi="http://www.w3.org/2001/XMLSchema-instance"
xsi:noNamespaceSchemaLocation="urn:magento:module:Magento_Ui:etc/ui_configuration.xsd">
<fieldset name="content">
<field name="zetman_thumbnail">
<argument name="data" xsi:type="array">
<item name="config" xsi:type="array">
<item name="dataType" xsi:type="string">string</item>
<item name="source" xsi:type="string">category</item>
<item name="label" xsi:type="string" translate="true">Thumbnail</item>
<item name="visible" xsi:type="boolean">true</item>
<item name="formElement" xsi:type="string">fileUploader</item>
<item name="elementTmpl" xsi:type="string">ui/form/element/uploader/uploader</item>
<item name="previewTmpl" xsi:type="string">Magento_Catalog/image-preview</item>
<item name="required" xsi:type="boolean">false</item>
<item name="sortOrder" xsi:type="number">40</item>
<item name="uploaderConfig" xsi:type="array">
<item name="url" xsi:type="url" path="vendor_module/category_thumbnail/upload"/>
</item>
</item>
</argument>
</field>
</fieldset>
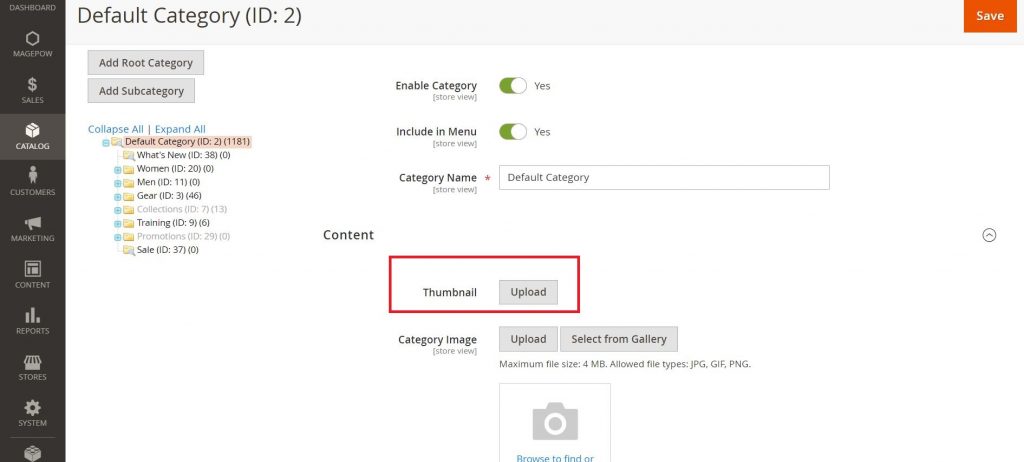
</form>This file displays a new image field. But you won’t be able to upload image yet because you haven’t created the path I mentioned above. So let move to next step.
Step 3 – Add di.xml
Create di.xml file in Vendor/Module/etc.
You just have to notice name="Vendor\Module\Controller\Adminhtml\Category\Thumbnail\Upload" to match with the path you’re about to create at step 4. And baseTmpPath and basePath are two folders that will contain your images. You can set it whatever you want and you will find it after upload or save pictures in folder pub/media.
<?xml version="1.0"?>
<config xmlns:xsi="http://www.w3.org/2001/XMLSchema-instance" xsi:noNamespaceSchemaLocation="urn:magento:framework:ObjectManager/etc/config.xsd">
    <type name="Vendor\Module\Controller\Adminhtml\Category\Thumbnail\Upload">
        <arguments>
            <argument name="imageUploader" xsi:type="object">Magento\Catalog\CategoryImageUpload</argument>
        </arguments>
    </type>
    <virtualType name="Magento\Catalog\CategoryImageUpload" type="Magento\Catalog\Model\ImageUploader">
        <arguments>
            <argument name="baseTmpPath" xsi:type="string">zetman/tmp/category</argument>
            <argument name="basePath" xsi:type="string">zetman/category</argument>
            <argument name="allowedExtensions" xsi:type="array">
                <item name="jpg" xsi:type="string">jpg</item>
                <item name="jpeg" xsi:type="string">jpeg</item>
                <item name="gif" xsi:type="string">gif</item>
                <item name="png" xsi:type="string">png</item>
            </argument>
        </arguments>
    </virtualType>
</config>
Step 4 – Create Controller and Action
Create Upload.php file on location Vendor/Module/Controller/Adminhtml/Category/Thumbnail. Now you know what I have said about steps 2 and 3 right? Make sure the path match right or else you will get nothing when uploading an image.
<?php
namespace Vendor\Module\Controller\Adminhtml\Category\Thumbnail;
use Magento\Framework\Controller\ResultFactory;
/**
* Class Upload
*/
class Upload extends \Magento\Backend\App\Action
{
protected $imageUploader;
public function __construct(
\Magento\Backend\App\Action\Context $context,
\Magento\Catalog\Model\ImageUploader $imageUploader
) {
$this->imageUploader = $imageUploader;
parent::__construct($context);
}
public function execute() {
try {
$result = $this->imageUploader->saveFileToTmpDir('zetman_thumbnail');
$result['cookie'] = [
'name' => $this->_getSession()->getName(),
'value' => $this->_getSession()->getSessionId(),
'lifetime' => $this->_getSession()->getCookieLifetime(),
'path' => $this->_getSession()->getCookiePath(),
'domain' => $this->_getSession()->getCookieDomain(),
];
} catch (\Exception $e) {
$result = ['error' => $e->getMessage(), 'errorcode' => $e->getCode()];
}
return $this->resultFactory->create(ResultFactory::TYPE_JSON)->setData($result);
}
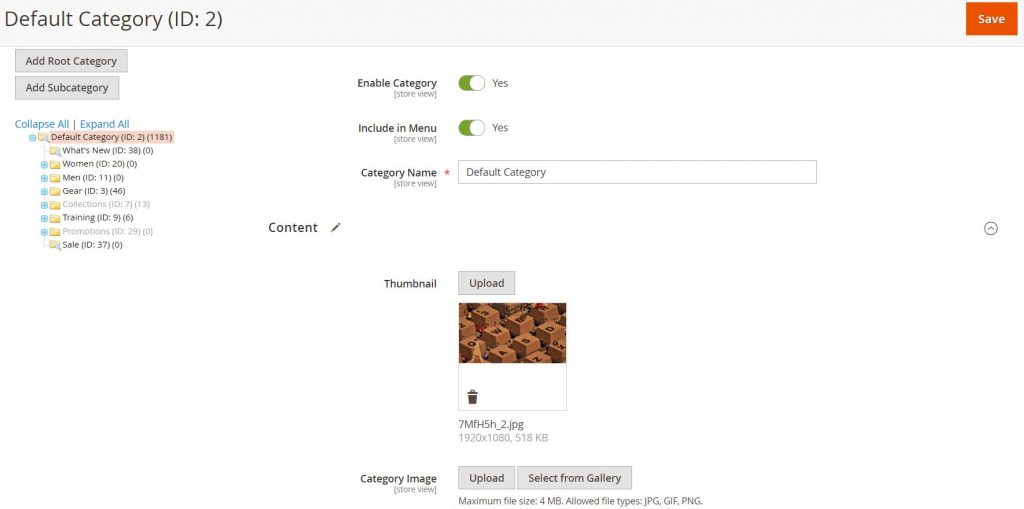
}Result
And now you are able to upload and save image to the new field you’ve just created.
To me it’s Thumbnail field.
One more thing, in case you don’t know, using CategoryFactory you can get this image URL by attribute name you have set, to me it’s ‘zetman_thumbnail ‘.
Look what I do below.
<?php
namespace Vendor\Module\Controller\Index;
class Index extends \Magento\Framework\App\Action\Action
{
	protected $_pageFactory;

	public $categoryFactory;

	public function __construct(
		\Magento\Framework\App\Action\Context $context,
		\Magento\Framework\View\Result\PageFactory $pageFactory,
		\Magento\Catalog\Model\CategoryFactory $categoryFactory,
		\Magento\Store\Model\StoreManagerInterface $storeManager
		)
	{

		$this->_pageFactory = $pageFactory;
		$this->categoryFactory= $categoryFactory;
		$this->storeManager= $storeManager;
		return parent::__construct($context);
	}

	public function execute()
	{
		$category = $this->categoryFactory->create();
                $category->load(2); // '2' is category's id that save the thumbnail
                $image = $category->getData('zetman_thumbnail');
                $image = strstr($image,'/media');
                $image = substr($image, strpos($image, "media/") + strlen('media/'));
                echo $this->storeManager->getStore()->getBaseUrl(\Magento\Framework\UrlInterface::URL_TYPE_MEDIA ).$image;
                echo "<img src=".$this->storeManager->getStore()->getBaseUrl(\Magento\Framework\UrlInterface::URL_TYPE_MEDIA ).$image." />";
	}
}
Print out: