once you have reached your laravel folder download the module that handles the connection to the Shopify app themes by opening the command prompt and entering
use Osiset\ShopifyApp\Contracts\ShopModel as IShopModel;
use Osiset\ShopifyApp\Traits\ShopModel;
Next, modify the class line to become:
class User extends Authenticatable implements IShopModel
Next, inside the class, add:
use ShopModel;
A completed example:
<?php

namespace App\Models;

use Illuminate\Contracts\Auth\MustVerifyEmail;
use Illuminate\Database\Eloquent\Factories\HasFactory;
use Illuminate\Foundation\Auth\User as Authenticatable;
use Illuminate\Notifications\Notifiable;
use Laravel\Sanctum\HasApiTokens;
use Osiset\ShopifyApp\Contracts\ShopModel as IShopModel;
use Osiset\ShopifyApp\Traits\ShopModel;

class User extends Authenticatable implements IShopModel
{
    use HasApiTokens, HasFactory, Notifiable;
    use ShopModel;
    /**
     * The attributes that are mass assignable.
     *
     * @var string[]
     */
    protected $fillable = [
        'name',
        'email',
        'password',
    ];

    /**
     * The attributes that should be hidden for serialization.
     *
     * @var array
     */
    protected $hidden = [
        'password',
        'remember_token',
    ];

    /**
     * The attributes that should be cast.
     *
     * @var array
     */
    protected $casts = [
        'email_verified_at' => 'datetime',
    ];
}
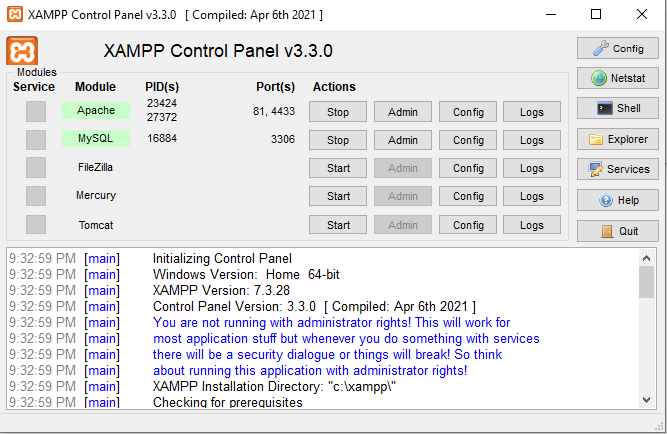
find and edit these elements in the file to match your PHPMyAdmin connection.
next, run the command.
php artisan migrate
CSRF
You must disable CSRF as there is currently no solution for verifying session tokens with CSRF, there is a conflict due to new login creation each request.
Open \App\Http\Middleware\VerifyCsrfToken.php, and add or edit:
After login select app > Create app select the type of application you want to create. Find more information about the application through the article links contained there.
connection information in the form
Shopify App
In your app’s settings on your Shopify Partner dashboard, you need to set the callback URL to be:
https://(your-domain).com/
And the redirect_uri to be:
https://(your-domain).com/authenticate
The callback URL will point to the home route, while the redirect_uri will point to the authentication route.
NOTE: Those two URLs must start with HTTPS, otherwise you will get an error message: “Oauth error invalid_request: The redirect_uri is not whitelisted”
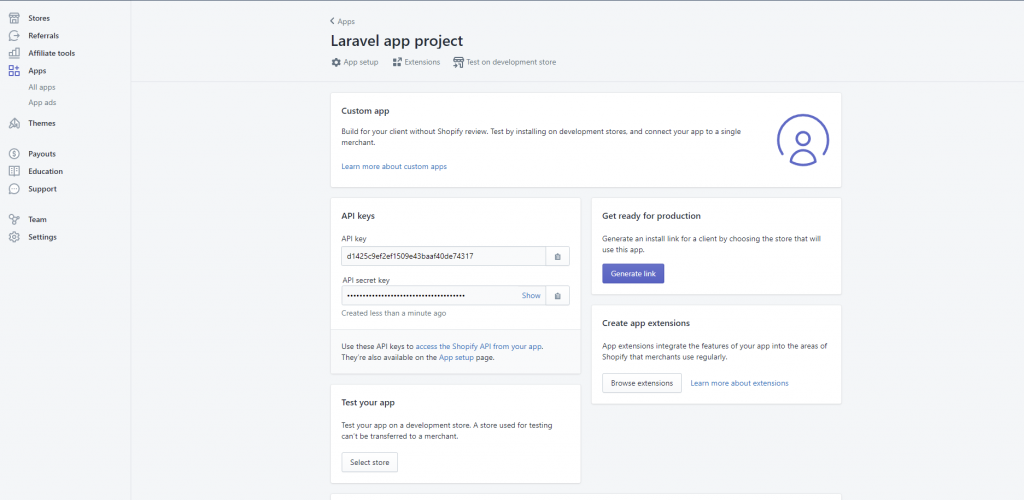
After creating the app an API key will be created, add them to the .env or config/shopify-app.php file
by adding API key through 2 added variables SHOPIFY_API_KEY and SHOPIFY_API_SECRET they will authenticate that connecting to your laravel folder
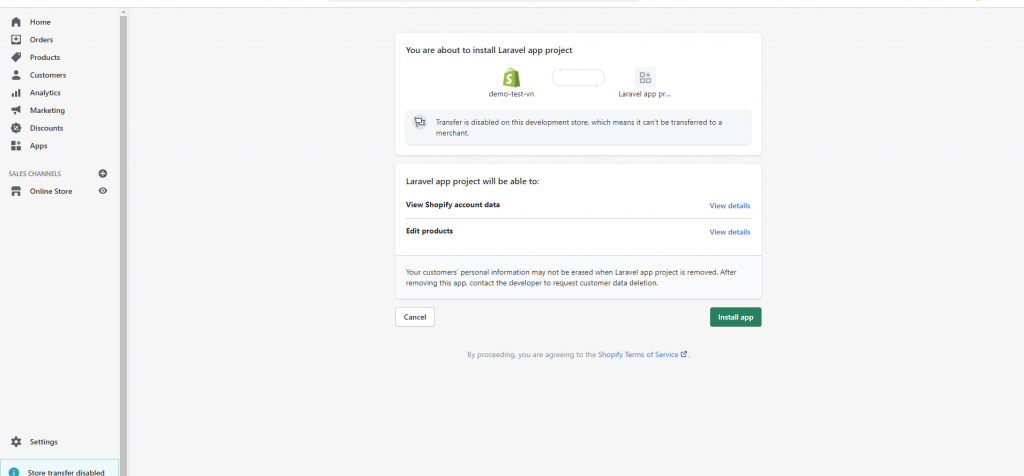
Once done, click Select Store A table will appear, hover the mouse pointer over the project app you just created, and press install app. wait a few seconds for Shopify to authenticate if successful an Install app panel is displayed. Click the Install app to continue the installation
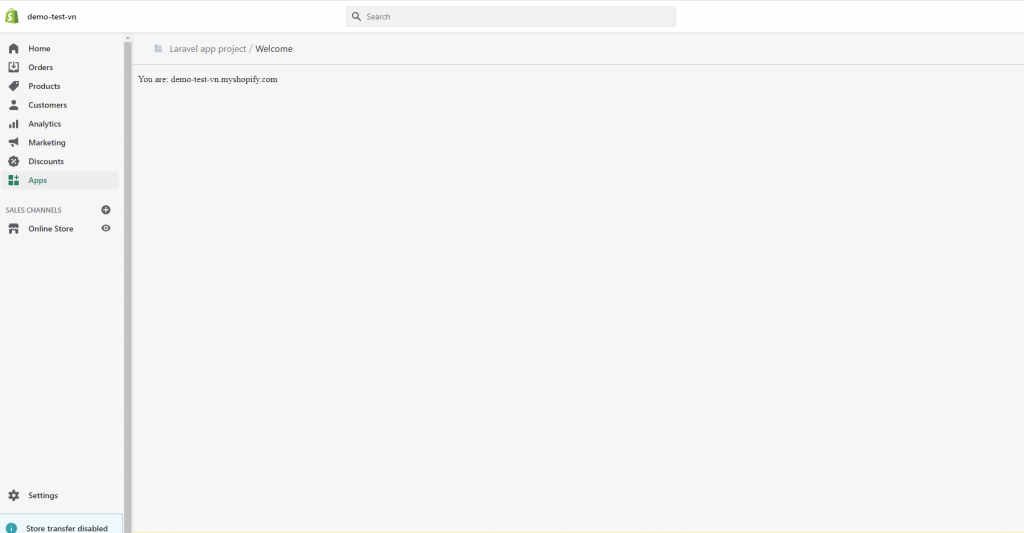
and the results are printed out after the job is completed, wish you success