Contents
Normally, you can only set one description for each of your categories and you will never knew you might need an extra description someday. That is why this blog here to guide you to create one by following these easy steps.
1. Create an Extra Description Attribute for the Category
First step, you need an attribute in the database, which lets you save your extra category description later.
Vendor\Module\Setup\InstallData.php
<?php
namespace Vendor\Module\Setup;

use Magento\Framework\Setup\InstallDataInterface;
use Magento\Framework\Setup\ModuleContextInterface;
use Magento\Framework\Setup\ModuleDataSetupInterface;
use Magento\Eav\Setup\EavSetup;
use Magento\Eav\Setup\EavSetupFactory;
use Magento\Eav\Model\Entity\Attribute\ScopedAttributeInterface;

class InstallData implements InstallDataInterface
{

    private $eavSetupFactory;

    /**
     * Constructor
     *
     * @param \Magento\Eav\Setup\EavSetupFactory $eavSetupFactory
     */
    public function __construct(EavSetupFactory $eavSetupFactory)
    {
        $this->eavSetupFactory = $eavSetupFactory;
    }

    /**
     * {@inheritdoc}
     */
    public function install(
        ModuleDataSetupInterface $setup,
        ModuleContextInterface $context
    ) {
        $eavSetup = $this->eavSetupFactory->create(['setup' => $setup]);

        $eavSetup->addAttribute(
            \Magento\Catalog\Model\Category::ENTITY,
            'extra_description',
            [
                'type' => 'text',
                'label' => 'Extra Description',
                'input' => 'textarea',
                'required' => false,
                'sort_order' => 4,
                'global' => ScopedAttributeInterface::SCOPE_STORE,
                'wysiwyg_enabled' => true,
                'is_html_allowed_on_front' => true,
                'group' => 'General Information',
            ]
        );
    }
}
2. Create an Extra Description Field for the Category
Next, we create Extra Description Field in the Admin which includes WYSIWYG editor.
Vendor/Module/view/adminhtml/ui_component/category_form.xml
<?xml version="1.0" ?>
<form xmlns:xsi="http://www.w3.org/2001/XMLSchema-instance" xsi:noNamespaceSchemaLocation="urn:magento:module:Magento_Ui:etc/ui_configuration.xsd">
<fieldset name="content">
<field name="extra_description" template="ui/form/field" sortOrder="60" formElement="wysiwyg">
<argument name="data" xsi:type="array">
<item name="config" xsi:type="array">
<item name="wysiwygConfigData" xsi:type="array">
<item name="height" xsi:type="string">100px</item>
<item name="add_variables" xsi:type="boolean">false</item>
<item name="add_widgets" xsi:type="boolean">true</item>
<item name="add_images" xsi:type="boolean">true</item>
<item name="add_directives" xsi:type="boolean">true</item>
</item>
<item name="source" xsi:type="string">category</item>
</item>
</argument>
<settings>
<label translate="true">Extra Description</label>
<dataScope>extra_description</dataScope>
</settings>
<formElements>
<wysiwyg class="Magento\Catalog\Ui\Component\Category\Form\Element\Wysiwyg">
<settings>
<rows>8</rows>
<wysiwyg>true</wysiwyg>
</settings>
</wysiwyg>
</formElements>
</field>
</fieldset>
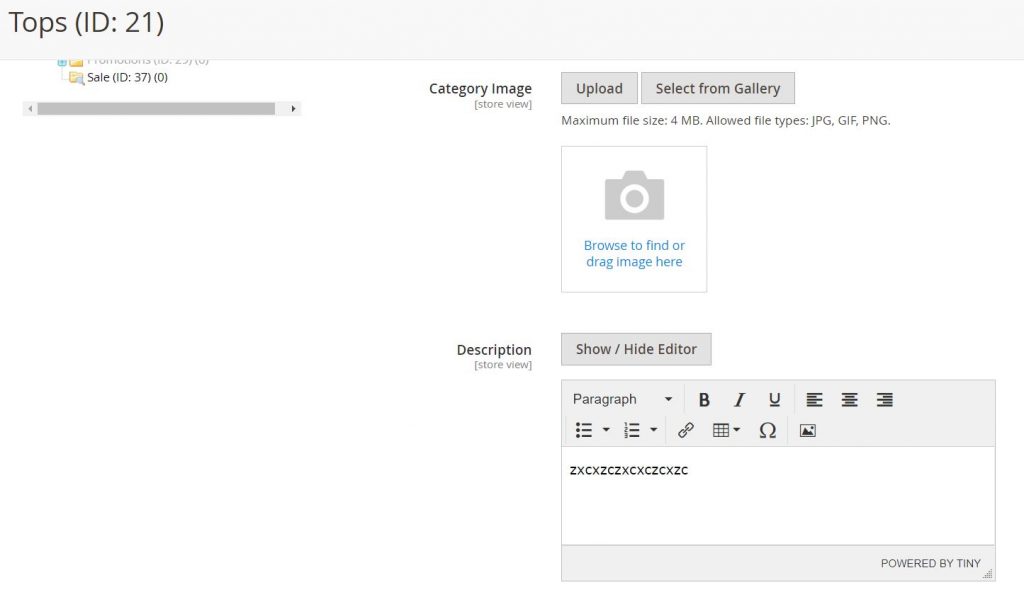
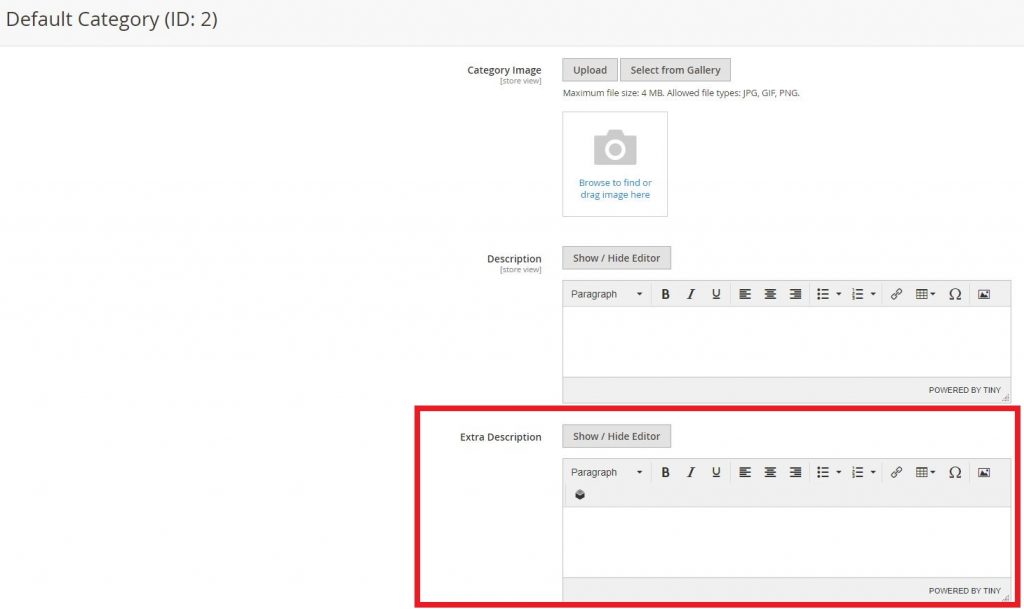
</form>Now you should see an extra description field.
3. Create a template file
Here, we create the template for the extra category description
Vendor/Module/view/frontend/templates/extra_description_template.phtml
<?php
if ($_extraDescription= $block->getCurrentCategory()->getData('extra_description')){
	echo $this->helper('Magento\Catalog\Helper\Output')->categoryAttribute($block->getCurrentCategory(), $_extraDescription, 'extra_description');
}
?>
4. Create a Layout
After you have done all these three steps, the only one step left is to place your description wherever you want to. For me, I place it at the bottom of category page by creating the file catalog_category_view.xml in path Vendor/Module/view/frontend/layout.
<?xml version="1.0"?>
<page xmlns:xsi="http://www.w3.org/2001/XMLSchema-instance" layout="2columns-left" xsi:noNamespaceSchemaLocation="urn:magento:framework:View/Layout/etc/page_configuration.xsd">
<body>
<referenceContainer name="content">
<block class="Magento\Catalog\Block\Category\View" name="extra.description" template="Vendor_Module::extra_description_template.phtml" after="-"/>
</referenceContainer>
</body>
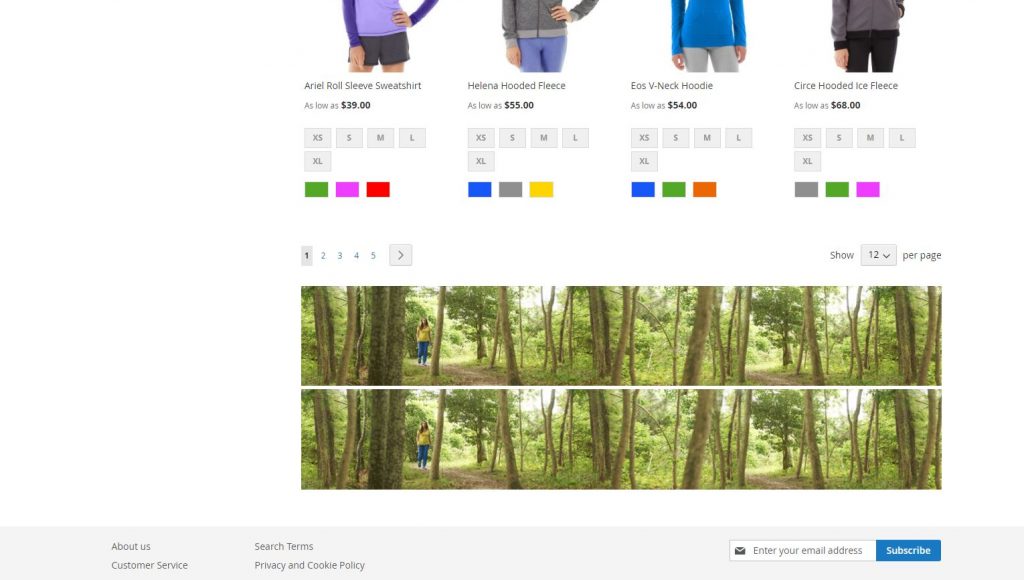
</page>And here is my result
In Admin

On Frontend